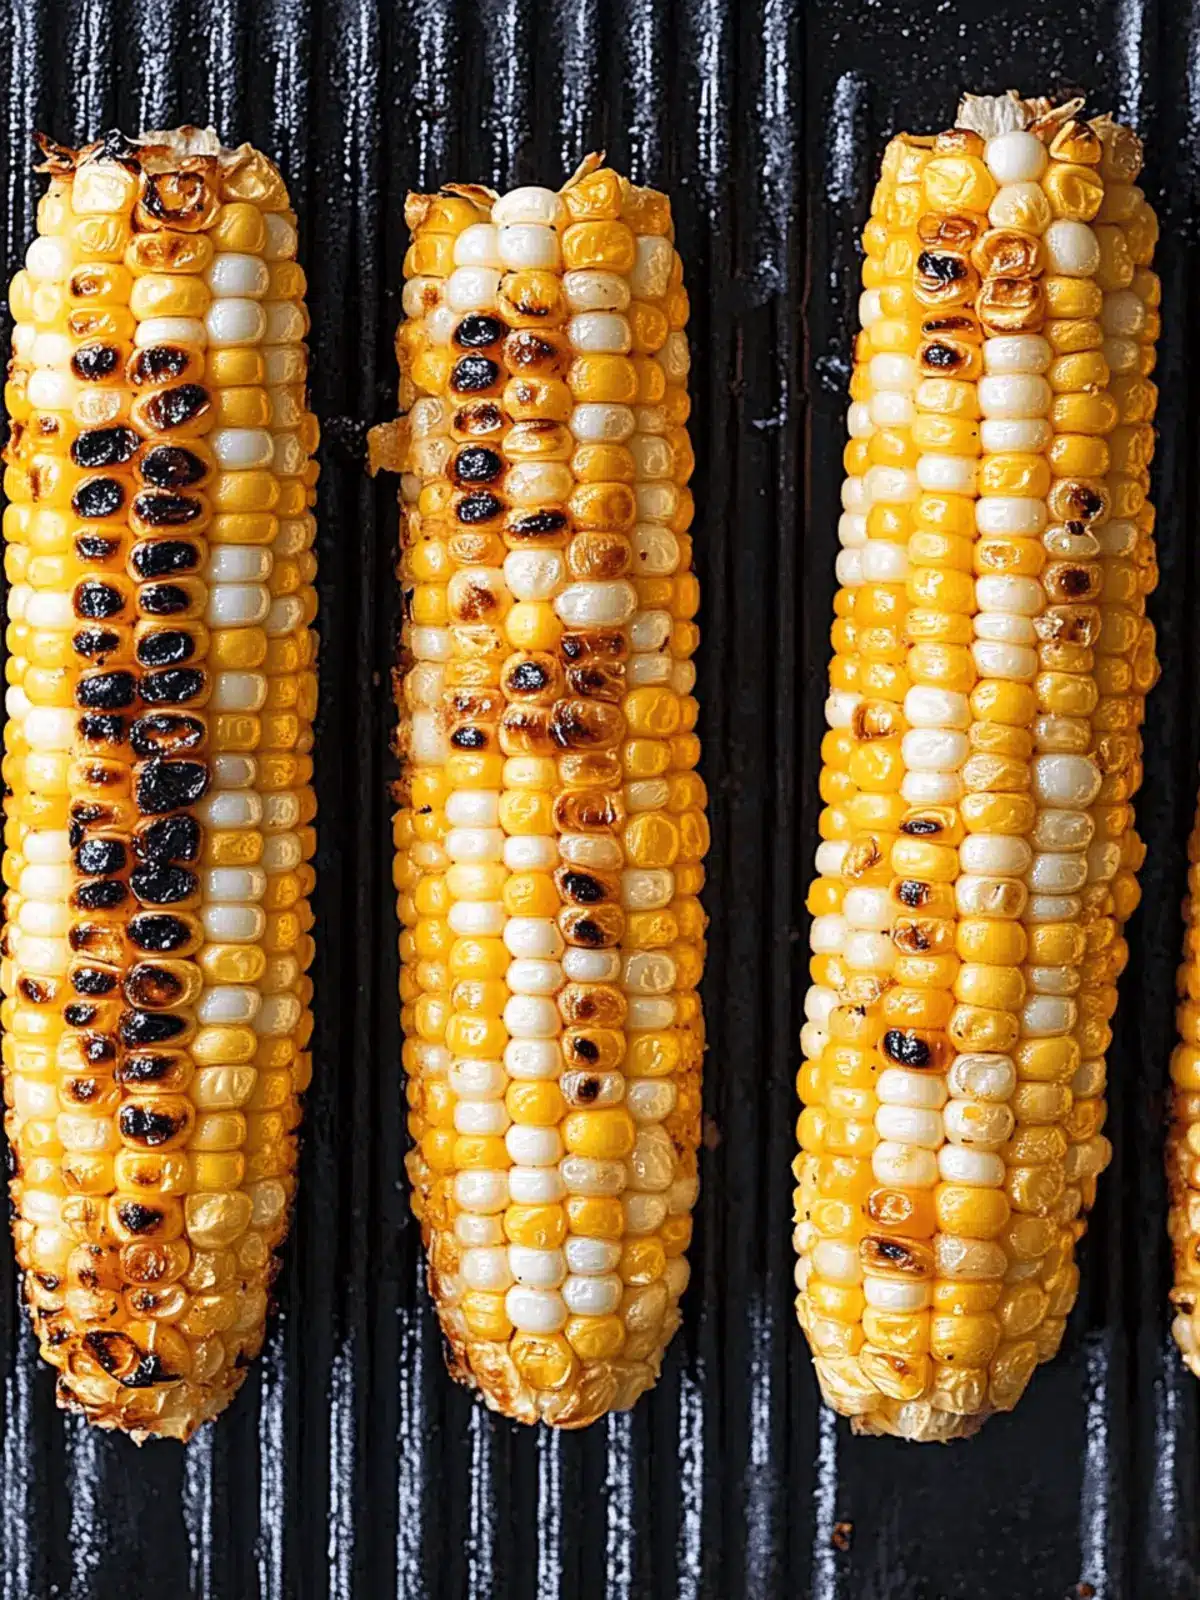
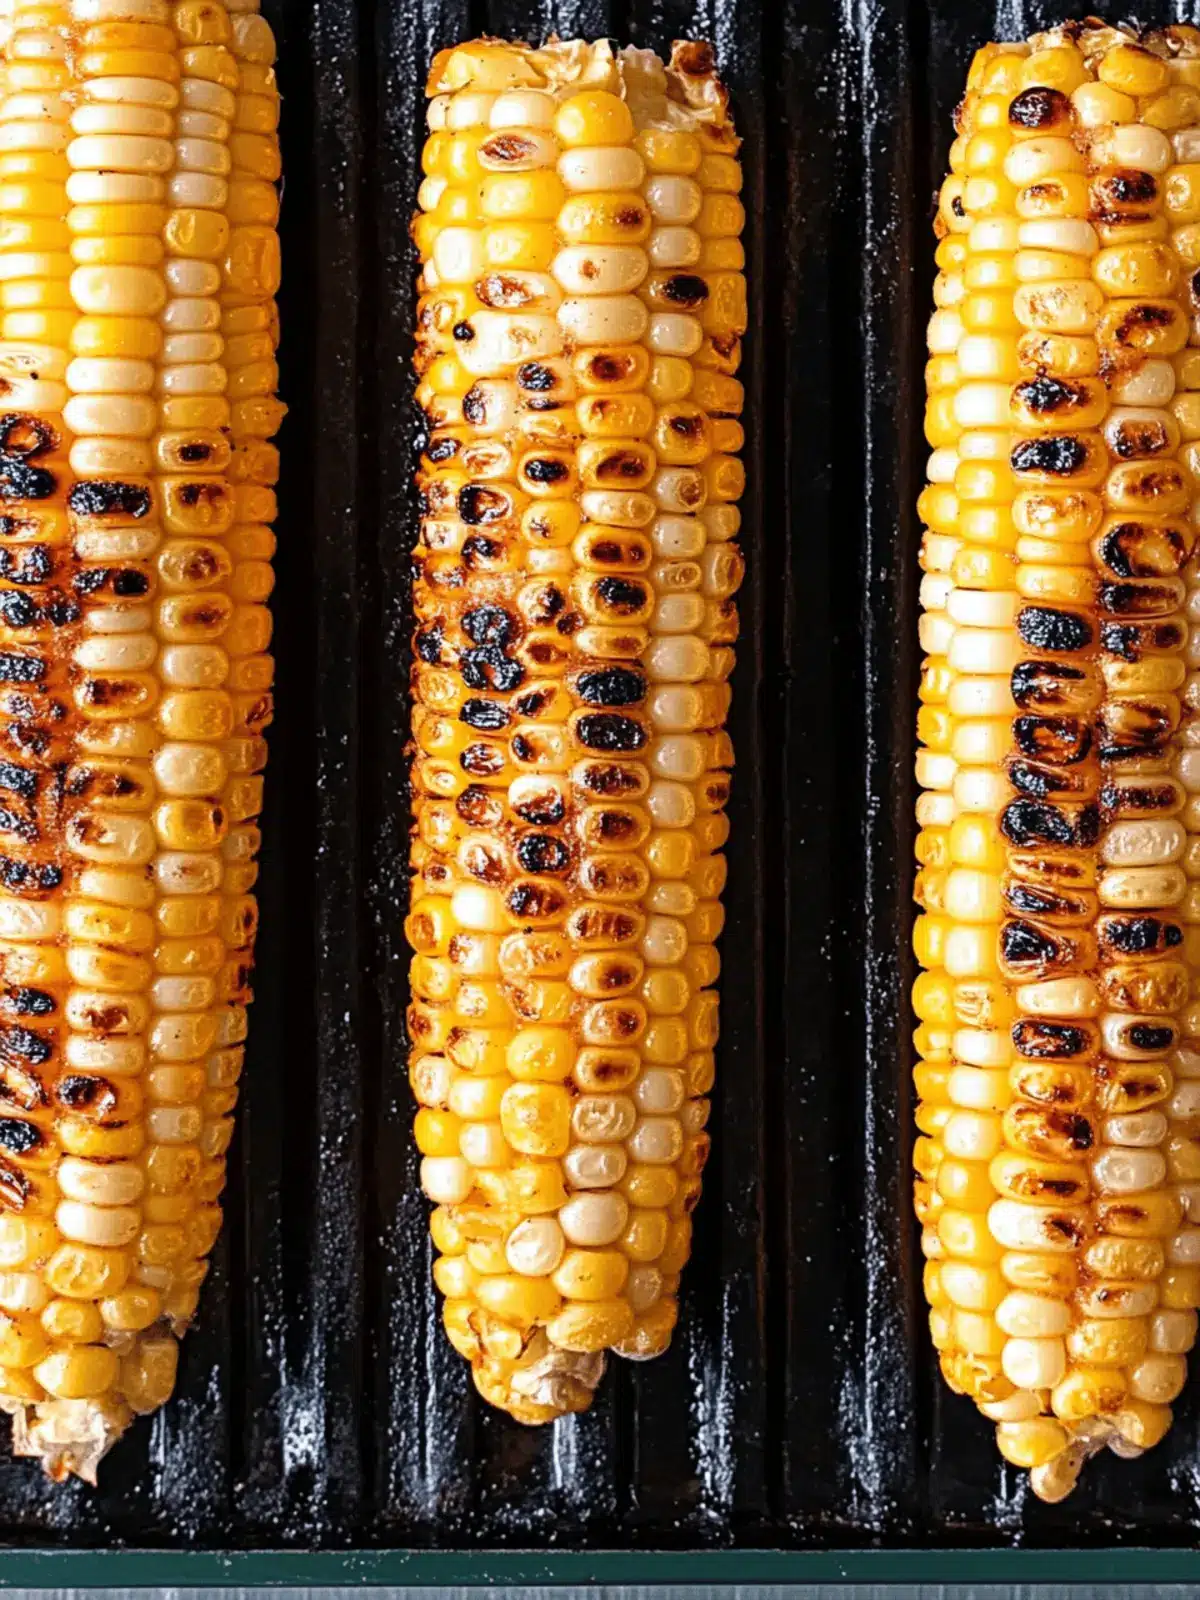
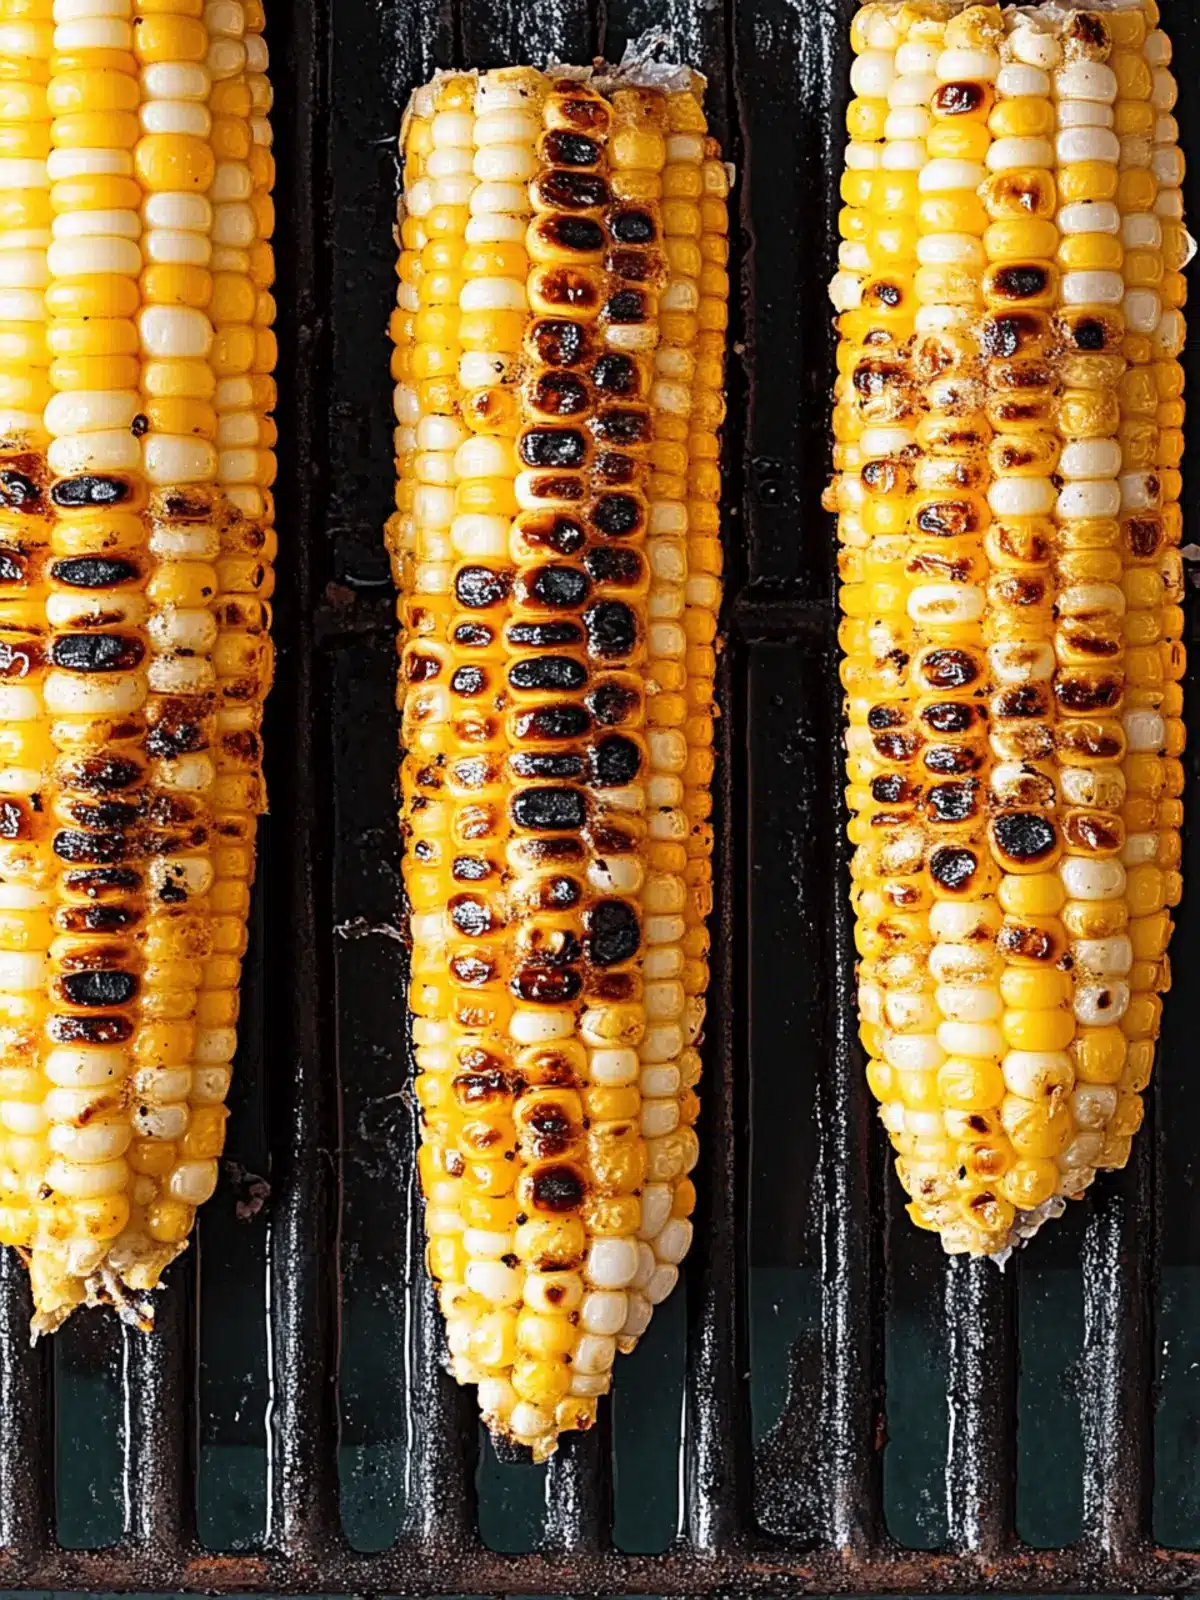
There’s nothing quite like the sound of corn sizzling on the grill, a perfect signal that summer has returned. In my quest for the ultimate BBQ side dish, I discovered how transformative grilled corn on the cob can be, elevating gatherings with its sweetness and delightful crunch. Whether you choose to keep the husk on for a tender, steamed texture or grill it naked for that irresistible char, this dish is incredibly versatile and easy to master. You won’t just be serving corn; you’ll be offering a slice of summer joy, bringing friends and family together around the table. Join me as we dive into simple techniques and flavorful variations that will make your grilled corn a showstopper at your next cookout!
Why is Grilled Corn on the Cob a summer favorite?
Sizzling Sounds: Nothing says summer quite like the sound of corn on the grill, inviting everyone to gather.
Ultimate Versatility: Choose between husked for steaming or naked for that smoky char; both deliver incredible taste!
Flavor Explosion: The natural sweetness of fresh corn shines, especially when topped with rich butter or zesty lime.
Crowd-Pleasing Side: Perfect for backyard BBQs, this dish easily complements grilled meats or stands alone as a delicious snack.
Quick Prep: With minimal ingredients and speedy cooking times, it’s a hassle-free addition to any meal.
For more summer inspiration, don’t forget to check out my BBQ side dishes!
Grilled Corn on the Cob Ingredients
• Delight in fresh flavors with these essential ingredients!
For the Corn
- Corn on the Cob – Fresh, in-season corn is key for the sweetest and crispiest results.
For the Butter or Oil
- Olive Oil or Butter – Adds richness and depth; for a lighter option, try a light cooking oil spray.
For Seasoning
- Salt – Essential for enhancing sweetness; consider using sea salt or flaked salt for added texture.
For Optional Toppings
- Lime Juice – A splash of citrus brightens up the flavor wonderfully.
- Chili Powder – Adds a kick that contrasts delightfully with the corn’s sweetness.
- Parmesan Cheese – For a savory twist, sprinkle on freshly grated cheese before serving.
Explore the transformative taste of grilled corn on the cob, perfect for any summer gathering!
How to Make Grilled Corn on the Cob
-
Preheat Grill: Preheat your grill to medium-high heat, aiming for about 400°F (200°C). A hot grill will help achieve those beautiful char marks and lock in the sweetness!
-
Prep Corn: Decide whether you’d like to keep the husk on (for a tender, steamed texture) or strip it down (for a smoky, charred flavor). If using the husk, soak your corn in water for 15-20 minutes to prevent burning.
-
Grill Corn: Place the corn on the hot grill. If you’ve opted for the husk, grill for about 15-20 minutes, turning occasionally. If you’re grilling without the husk, aim for about 10-12 minutes until the kernels are tender and charred.
-
Finish and Serve: Once grilled, carefully remove the corn from the grill. Let it cool for a moment before brushing with your choice of olive oil or butter. Sprinkle with salt and any desired toppings to create your perfect flavor profile.
Optional: For an extra zing, squeeze fresh lime juice over the corn just before serving.
Exact quantities are listed in the recipe card below.
Expert Tips for Grilled Corn on the Cob
-
Choose Fresh: Select in-season corn for the best sweetness and tenderness. Look for bright green husks and plump kernels.
-
Soaking Secrets: If grilling in the husk, soak corn in water for 15-20 minutes. This helps prevent burning while steaming the kernels.
-
Watch the Time: Keep an eye on cooking times; avoid overcooking to prevent tough kernels. Check for tenderness at the shorter time to ensure ideal texture.
-
Flavor Boosters: Experiment with optional toppings! A drizzle of lime juice or a sprinkle of chili powder can elevate your grilled corn on the cob experience.
-
Tongs for Safety: Always use tongs when handling corn on the grill. This keeps you safe from burns and makes it easier to turn the cobs.
Enjoy your delicious grilled corn on the cob!
How to Store and Freeze Grilled Corn on the Cob
Fridge: Keep grilled corn on the cob in an airtight container for up to 3 days. This will maintain its flavor and prevent it from drying out.
Freezer: Wrap individual cobs tightly in plastic wrap or foil, then place them in a freezer-safe bag. They can be frozen for up to 3 months.
Reheating: For best results, thaw in the fridge overnight before reheating. Warm in the microwave for 1-2 minutes or grill briefly to restore that fresh-grilled flavor in your grilled corn on the cob.
Cut Off Kernels: Consider cutting off the kernels and storing them in an airtight container for up to 5 days. This makes them easy to use in salads or other dishes later!
Grilled Corn on the Cob Variations
Feel free to take this classic side dish to new heights with these delightful twists and substitutions!
-
Spicy Kick: Mix in cayenne pepper with your seasoning for a vibrant heat that tantalizes the taste buds.
-
Herb-Infused: Toss with fresh herbs like cilantro or parsley before grilling, giving your corn a burst of garden freshness.
-
Cheesy Delight: Top with crumbled queso fresco or cotija cheese after grilling for a rich and creamy layer.
-
Sweet & Smoky: Add a drizzle of smoked maple syrup before serving for a unique balance of sweet and savory flavors.
-
Asian Flair: Brush with sesame oil and sprinkle with furikake seasoning for an East Asian-inspired twist that will impress your guests.
-
Citrus Zing: Combine lime zest with sea salt for a refreshing pop of flavor that brightens up every bite.
-
Veggie Boost: Grill alongside bell peppers or zucchini for a colorful and nutritious medley that adds depth to your BBQ spread.
-
Garlic Lovers: Infuse melted butter with garlic before brushing it onto the corn for an aromatic and savory flavor infusion.
What to Serve with Grilled Corn on the Cob?
When summer whispers through the air, nothing completes a barbecue like an unforgettable array of sides to complement your beautifully grilled corn.
-
Classic Coleslaw: This creamy and tangy salad provides a refreshing crunch that balances the sweetness of the corn, creating a harmonious plate.
-
BBQ Ribs: The smoky, savory flavors of tender BBQ ribs make this duo an iconic match, resonating with the outdoor grilling experience.
-
Potato Salad: A rich and creamy potato salad offers comforting contrast, adding a satisfying, hearty element that enhances your summer feast.
-
Grilled Chicken: Seasoned with herbs and spices, juicy grilled chicken pairs beautifully, complementing the corn’s sweetness and adding savory depth to your meal.
-
Cornbread: Serve warm, buttery cornbread as a delightful accompaniment. Its texture mirrors the grilled corn, bringing depth and familiarity to the table.
-
Watermelon Salad: Refreshing and light, a watermelon salad brightens the meal with its juicy sweetness and a hint of mint, making for a perfect summer balance.
-
Lemonade or Iced Tea: Quench your thirst with a glass of homemade lemonade or iced tea. Their crisp flavors provide a sweet touch that complements the savory elements of the meal.
These serving suggestions will elevate your grilled corn on the cob and create an unforgettable summer dining experience!
Make Ahead Options
These Grilled Corn on the Cob are a fantastic choice for meal prep, allowing you to enjoy delicious, fresh flavors without the last-minute rush! You can soak the corn in water for up to 24 hours ahead of time (if using the husk), which helps keep it juicy on the grill. Alternatively, you can clean and shuck the corn, wrap it in plastic, and refrigerate it for up to 3 days until you’re ready to cook. When you’re ready to serve, simply heat the grill and grill the soaked corn for 15-20 minutes (in husk) or 10-12 minutes (without husk). With this prep, you’ll achieve the same delightful taste of perfectly grilled corn, saving you precious time on busy weeknights!
Grilled Corn on the Cob Recipe FAQs
What is the best way to choose fresh corn for grilling?
Absolutely! Look for corn with bright green husks and plump, firm kernels. Ideally, you should pick corn that’s in-season, as it will offer the sweetest and most flavorful experience. Avoid any cobs with dark spots or drying husks, as these can indicate overripeness.
How should I store grilled corn on the cob?
To keep your grilled corn fresh, store it in an airtight container in the fridge for up to 3 days. This helps maintain its juicy flavor and prevents it from drying out. If you want to enjoy it later, you can also freeze it!
Can I freeze grilled corn on the cob? How?
Very much so! To freeze grilled corn, wrap each individual cob tightly in plastic wrap or aluminum foil, ensuring it’s well sealed. Then, place the wrapped cobs in a freezer-safe bag. They can be stored in the freezer for up to 3 months. When you’re ready to enjoy, thaw in the fridge overnight and reheat on the grill or in the microwave!
What if my grilled corn comes out tough or chewy?
Don’t fret! This can happen if corn is overcooked. To prevent this, always check for tenderness as you approach the shorter grilling times. Ideally, the corn should be grilled for about 10-12 minutes without husks or 15-20 minutes with husks, turning occasionally. If you find it tough, try soaking the husk before grilling next time to retain moisture.
Is grilled corn safe for pets to eat?
While corn is generally safe for pets, it’s best to avoid giving them grilled corn on the cob. Whole cobs can pose a choking hazard, and the added butter or seasoning may not be suitable for them. If you’d like to share, consider cutting off the kernels and offering a small amount as a treat. Always consult your vet for your pet’s dietary specifics.
Can I use frozen corn instead of fresh for grilling?
Of course! If you’re not able to find fresh corn, you can use frozen corn as an alternative, though the grilling experience will be different. I recommend thawing the corn first, tossing it with some olive oil and seasoning, then grilling it in a grill basket for about 5-7 minutes. This will help replicate that delicious grilled flavor without the husk!
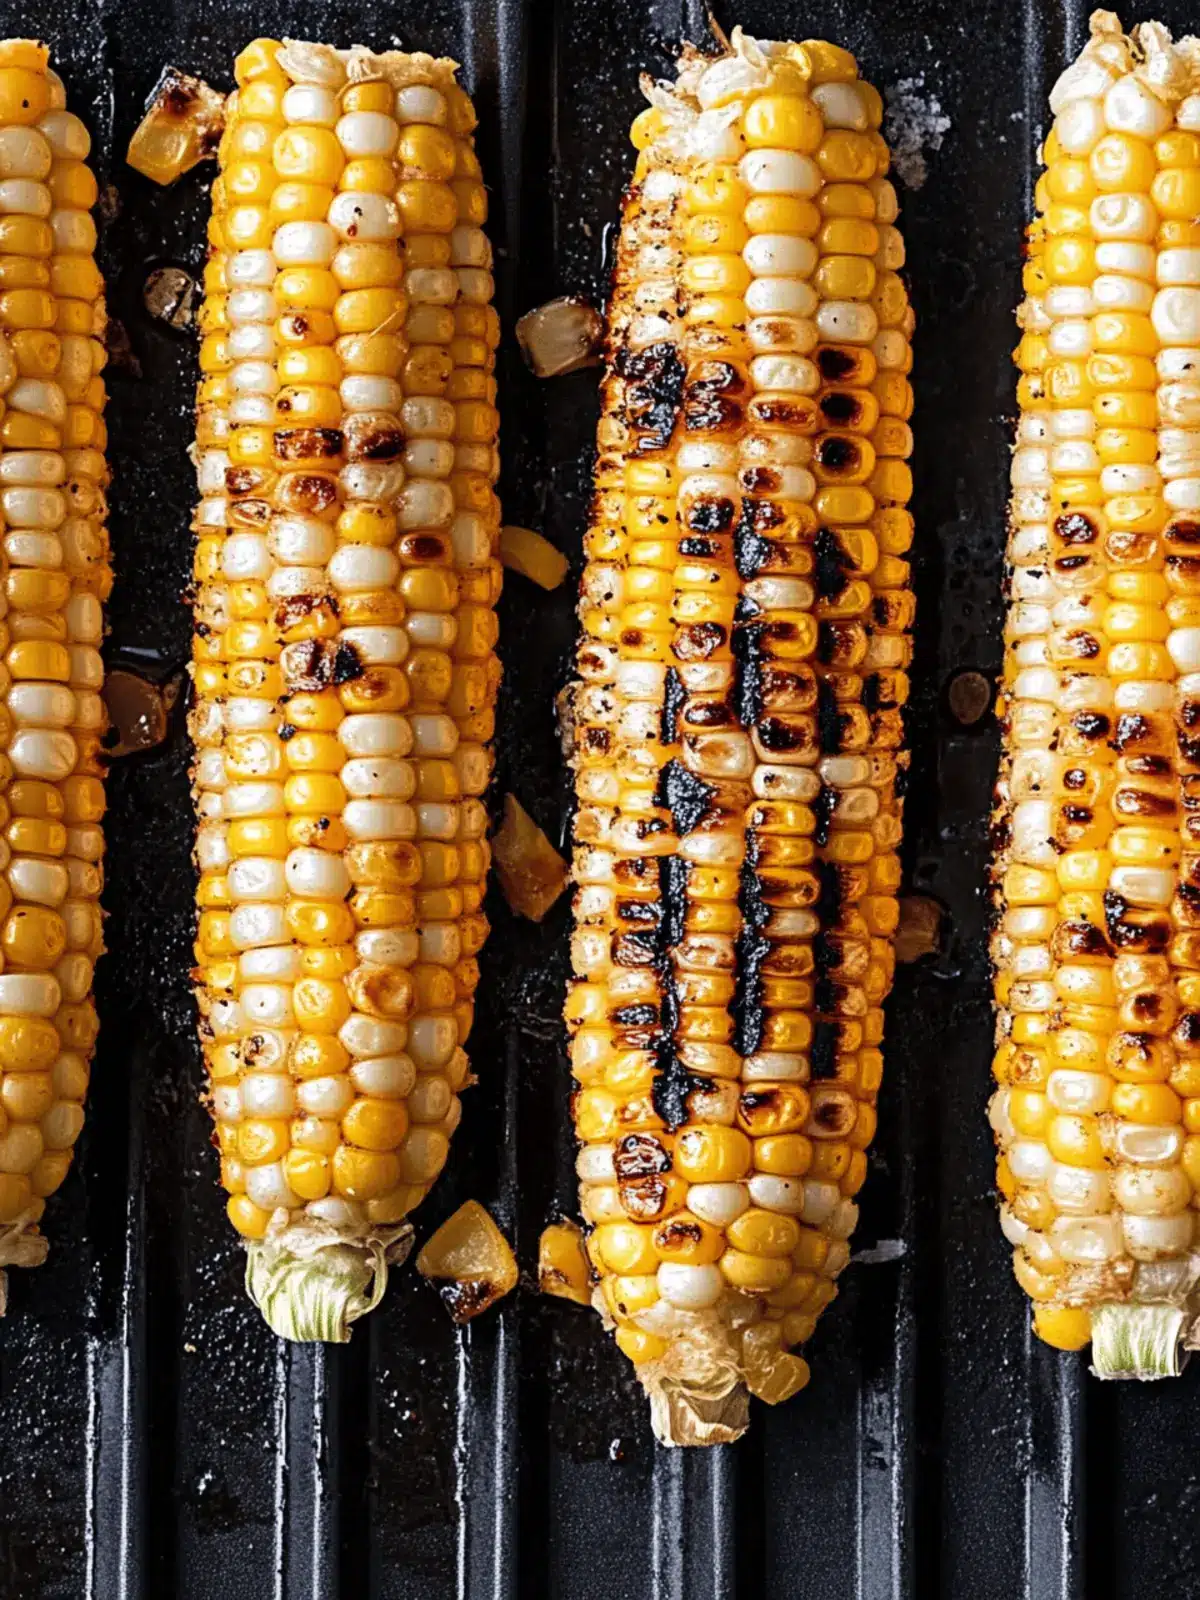
Grilled Corn on the Cob: The Ultimate Flavor-Packed BBQ Side
Ingredients
Equipment
Method
- Preheat your grill to medium-high heat, aiming for about 400°F (200°C).
- Decide whether you'd like to keep the husk on or strip it down.
- If using the husk, soak your corn in water for 15-20 minutes to prevent burning.
- Place the corn on the hot grill. Grill for about 15-20 minutes if husked, or 10-12 minutes without the husk.
- Once grilled, carefully remove the corn from the grill and let it cool.
- Brush with olive oil or butter and sprinkle with salt and toppings.

