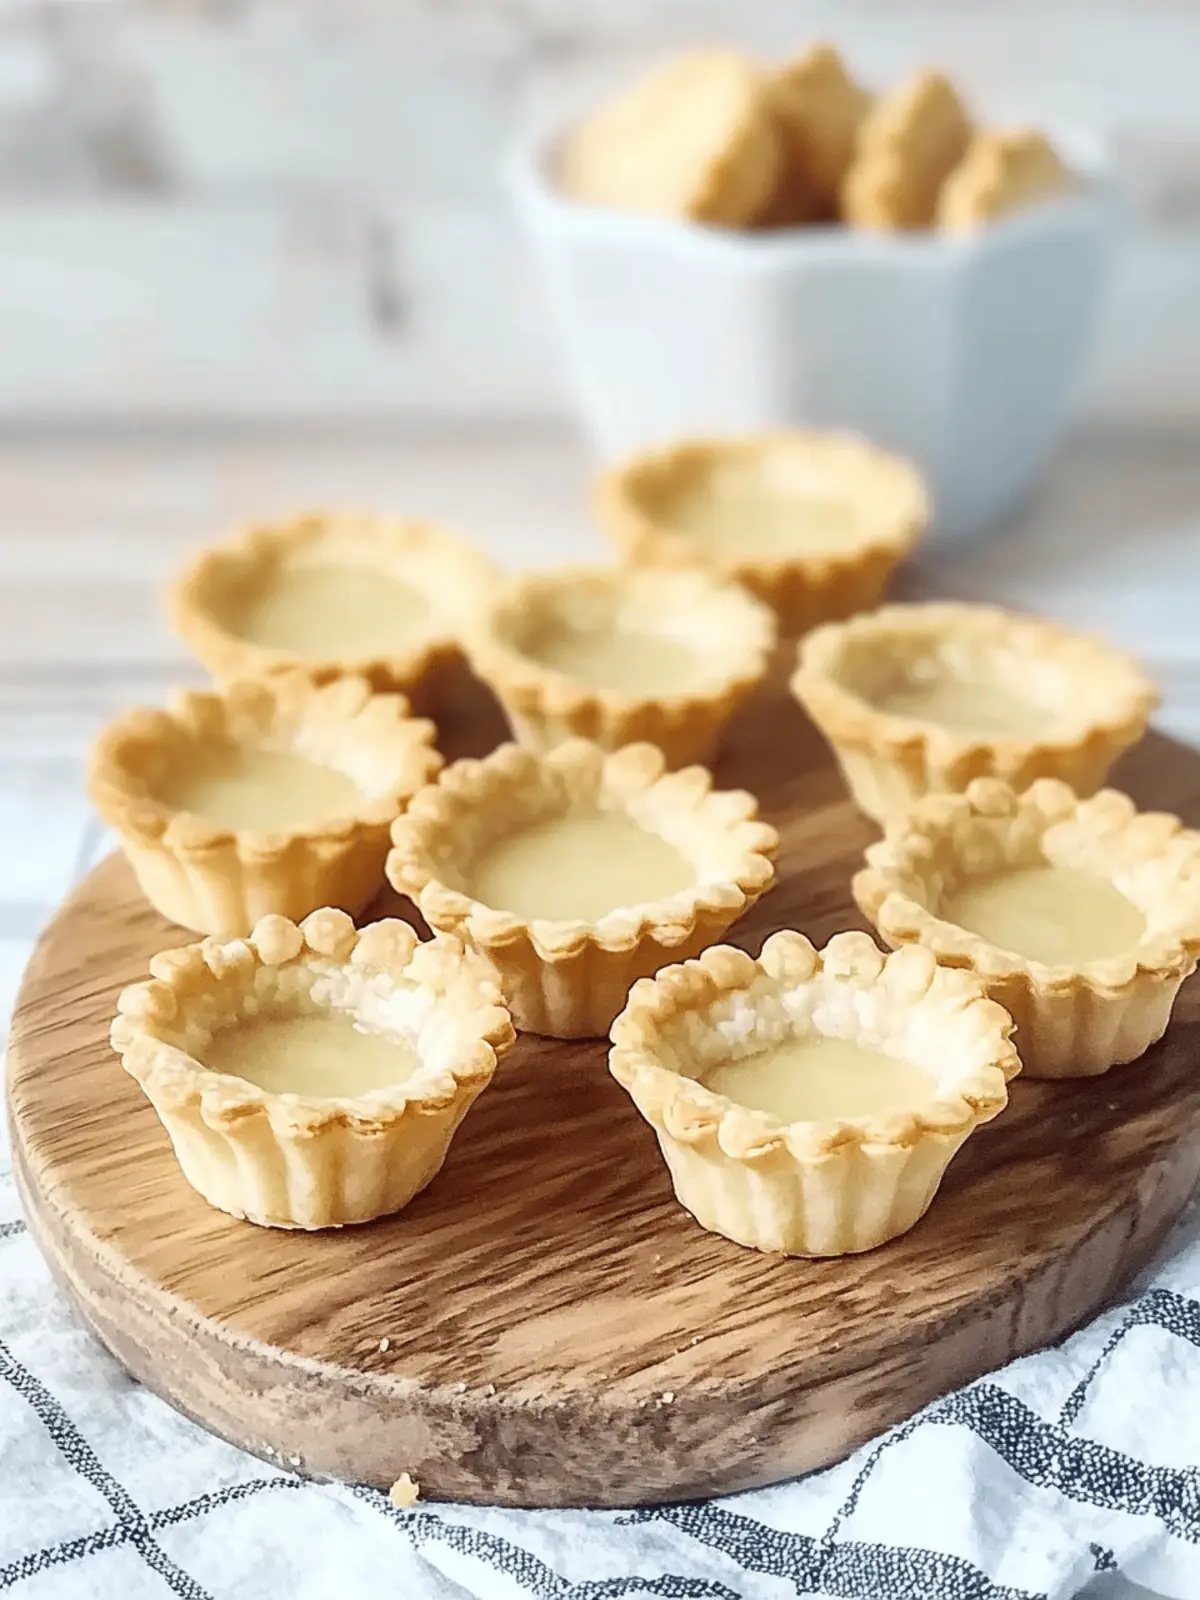
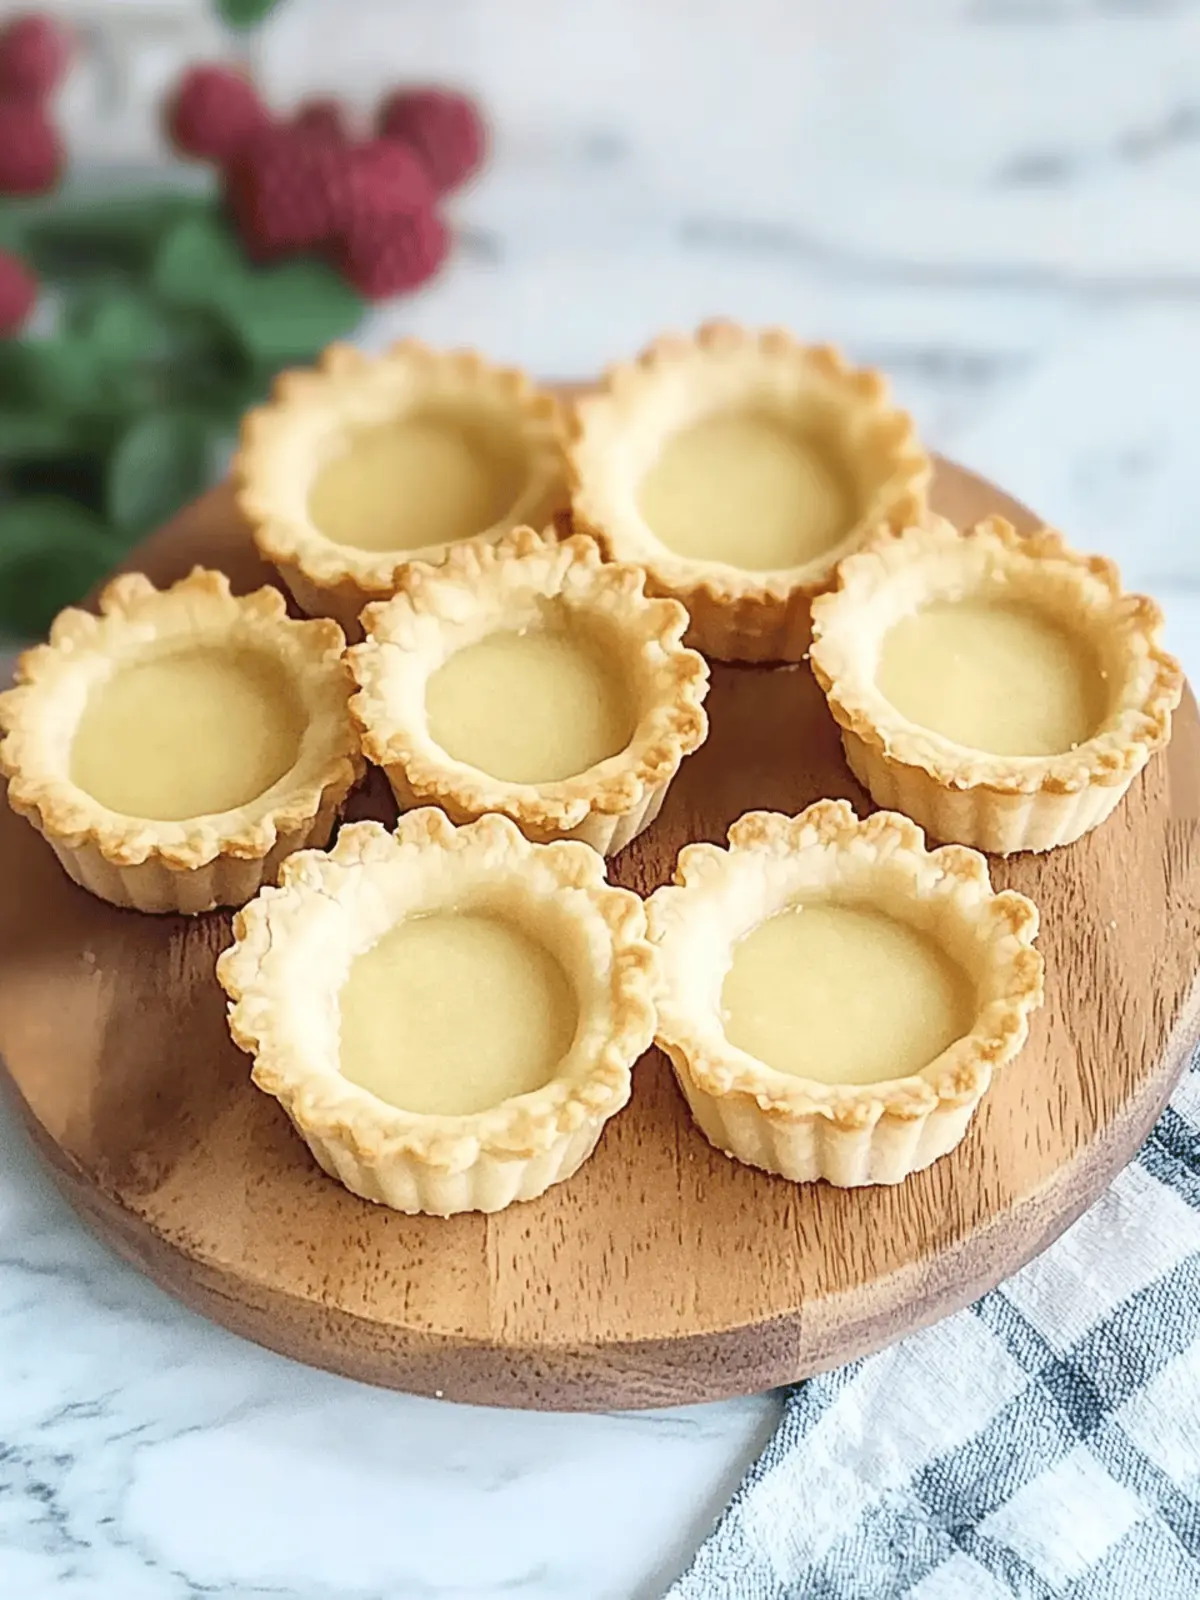
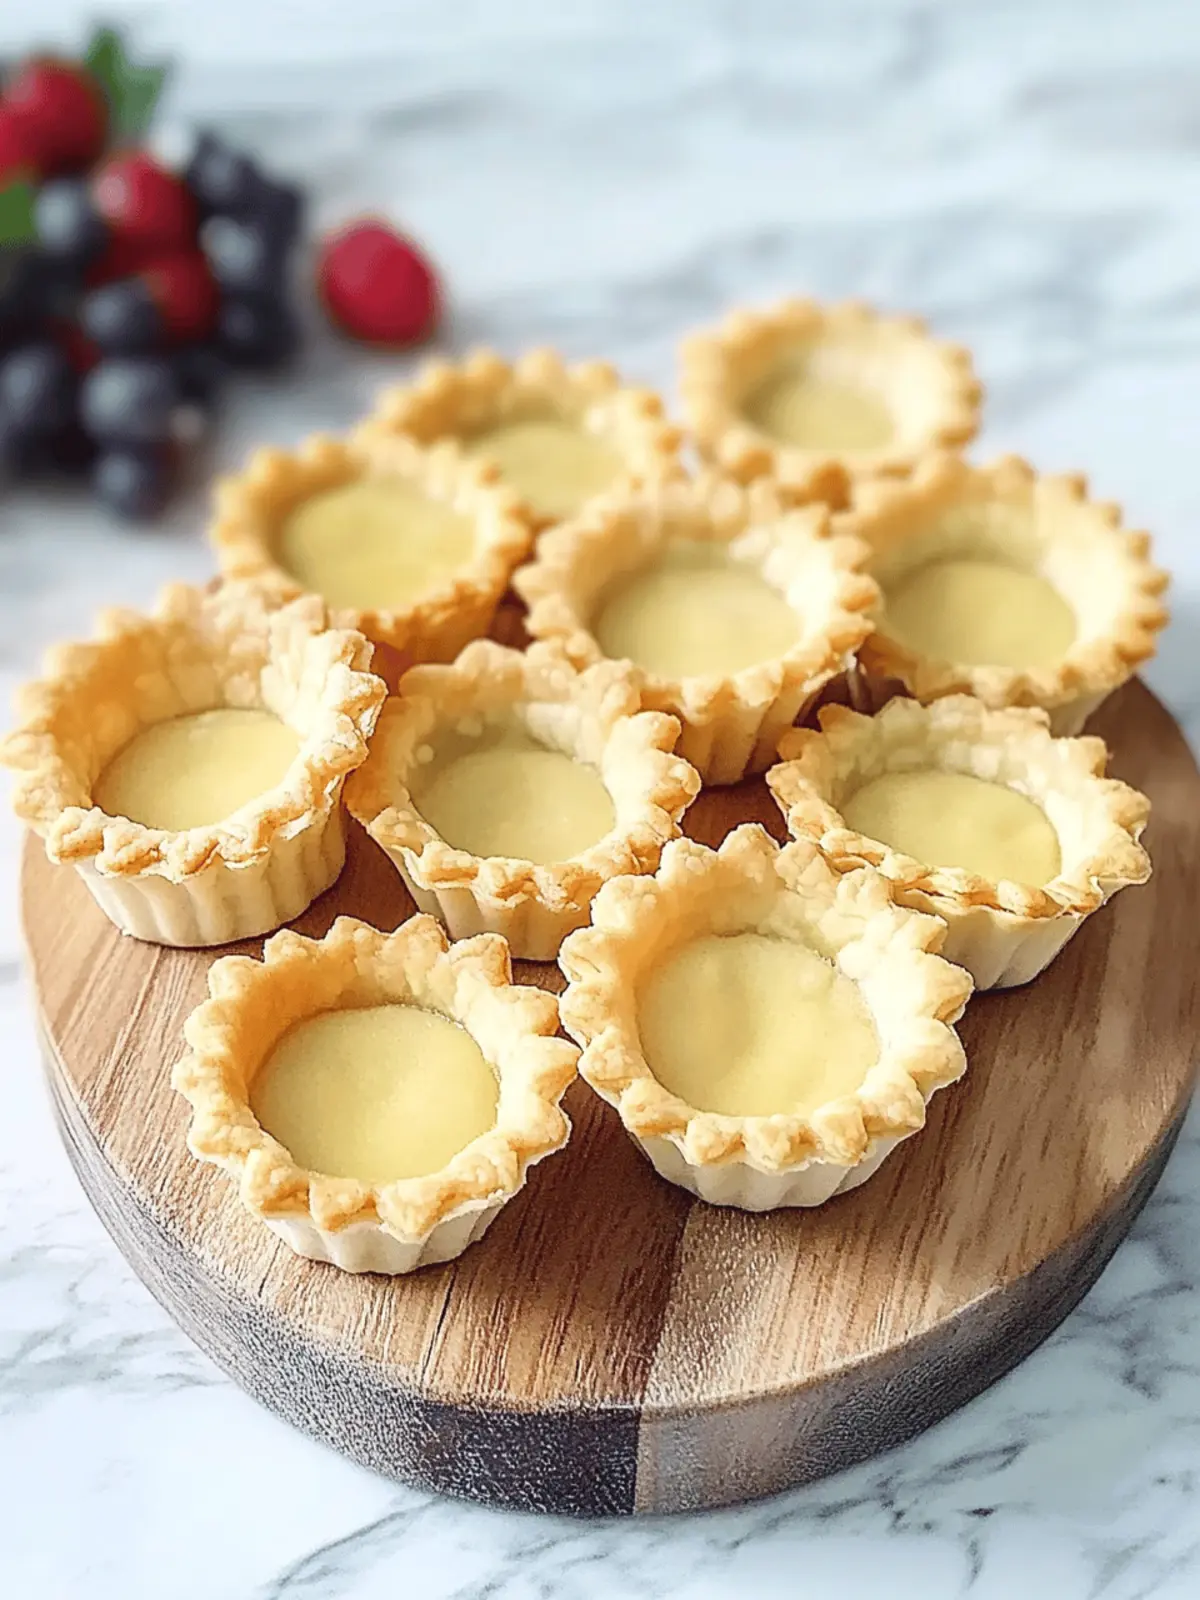
There’s a certain joy in creating something delicious from scratch, and mini tart shells hold a special place in that experience. As the holidays approach, the aroma of baking pastry fills my kitchen, evoking warmth and excitement. These delightful shells are incredibly versatile—perfect for both sweet and savory delights, making them a go-to for festive gatherings or an elegant individual dessert.
I first discovered how effortless these buttery, flaky tart shells are to make when I was searching for a new way to elevate our holiday appetizers. Little did I know, they would become a staple in my baking repertoire! With just a handful of ingredients, you can whip up these golden beauties in no time, providing you the flexibility to prep ahead and impress your guests. Trust me, once you serve these mouth-watering mini tart shells filled with your favorite fillings, they’ll be the star of your holiday table! Let’s dive into the recipe that will bring that magic to your kitchen.
Why are Mini Tart Shells a Must-Make?
Versatility: These mini tart shells are perfect for any occasion, easily adapting to both sweet and savory fillings.
Simplicity: With just a few ingredients, you can create these delightful shells without needing advanced baking skills.
Make-Ahead Magic: Prepare the dough in advance to save time, so you can enjoy festive gatherings without the last-minute stress.
Crowd Pleaser: Serve them at parties, and you’ll be the host with the most—everyone will want to know your secret!
Elegant Presentation: Elevate your dessert game or special appetizers instantly with these beautifully crafted tarts that appeal to the eye as much as the taste buds.
Discover how to bake these little wonders and impress your loved ones during the holiday season!
Mini Tart Shells Ingredients
• Here’s everything you need to bake these delightful mini tart shells that are sure to impress!
For the Dough
- 400g all-purpose flour – Provides the structure and base for your tart shells; gluten-free flour is a great substitute.
- 1 tsp sugar – Adds a hint of sweetness; feel free to omit for savory variations.
- ½ tsp salt – Enhances the flavor of the dough; no substitutions needed.
- 200g softened butter – Creates tenderness and a rich flavor; margarine or coconut oil works well for a dairy-free option.
- 6 egg yolks (or 2 whole eggs) – Binds the ingredients and adds richness; using whole eggs results in a slightly different texture.
- 25 ml milk at room temperature – Ensures moisture in the dough; any milk or milk alternative can be used.
Optional Glaze
- 1 egg – For brushing the tart shells before baking, giving them a beautiful golden finish; can be omitted if desired.
Get ready to embrace your inner chef and dive into baking these wonderful mini tart shells!
How to Make Mini Tart Shells
-
Blend egg yolks with milk and set aside in a bowl. This mixture will help bind the ingredients while adding richness to the dough.
-
Whisk flour, sugar, and salt together in a stand mixer bowl until well combined. This ensures an even distribution of the ingredients that will form the base of your tarts.
-
Incorporate softened butter into the flour mixture, mixing until crumbly. The butter should be soft enough to blend smoothly but not melted, ensuring a flaky texture.
-
Add the yolk-milk mixture and mix on low speed until a dough begins to form. Be patient, as you want to achieve just the right consistency without overworking the dough.
-
Knead the dough briefly on a floured surface and divide it into two pieces. Wrap one piece in plastic wrap and chill in the refrigerator for about 30 minutes, which helps solidify the butter.
-
Roll out the second piece on a lightly floured surface to about ¼ inch thick. Use a round cutter to cut out circles that will fit into your tart molds.
-
Fit the dough circles into tart molds, pressing gently to shape them. This step ensures they hold their form during baking.
-
Prick the bottoms of the tart shells with a fork to prevent any bubbling, then chill the molds in the refrigerator for 15-20 minutes so the dough firms up before baking.
-
Preheat your oven to 350°F (175°C) while the tart shells chill. This ensures they start baking evenly as soon as they’re placed in the oven.
-
Bake the tart shells for 15-20 minutes until they are golden brown. Allow them to cool in the molds for a few minutes before carefully removing them.
Optional: Brush the baked shells with a simple egg wash for a glossy finish!
Exact quantities are listed in the recipe card below.
Expert Tips for Mini Tart Shells
-
Butter Matters: Ensure the butter is at room temperature; it should be soft but not melting for the best texture.
-
Don’t Overwork: Avoid overworking the dough to keep your mini tart shells tender and flaky—mix just until combined.
-
Chill Time: Remember to chill the dough before rolling out; this helps maintain shape and prevents shrinkage while baking.
-
Corner Cutting: If you’re short on time, prepare tart shells in advance and freeze; they can last up to a month in your freezer!
-
Prick Thoroughly: Pricking the bottoms is essential—this prevents bubbles and ensures even baking for perfect mini tart shells.
Make Ahead Options
These mini tart shells are perfect for meal prep, allowing you to enjoy stress-free entertaining! You can prepare the dough up to 3 days in advance by wrapping it tightly in plastic wrap and refrigerating it, ensuring the butter remains chilled for optimal flakiness. Alternatively, you can bake the tart shells and store them in an airtight container at room temperature for up to 1 week or freeze them for up to 1 month. When ready to serve, simply fill the baked shells with your desired fillings and enjoy them fresh. This way, you can have delicious mini tart shells ready to impress your guests without the last-minute rush!
What to Serve with Mini Tart Shells?
Elevate your gathering with delightful accompaniments that perfectly complement the buttery bliss of these mini tart shells.
-
Creamy Mashed Potatoes: Their velvety texture contrasts wonderfully with the crisp tart shells, making for a comforting dish.
-
Herbed Cream Cheese Dip: This spread is rich and herbaceous, perfect for filling your savory tarts while adding an elegant touch to your appetizer table.
-
Refreshing Salad Greens: A light salad with citrus vinaigrette offers a burst of freshness that balances the richness of the tarts beautifully.
-
Roasted Vegetables: Sweet and caramelized, roasted veggies provide a savory flavor explosion that pairs exceptionally well with both sweet and savory tart fillings.
-
Sparkling Wine or Champagne: The effervescence of sparkling wine not only elevates the dining experience but also complements a variety of flavors in your tarts.
-
Chocolate Mousse: A luscious chocolate mousse fills the tart shells perfectly for a decadent dessert that’s sure to impress your guests.
-
Seasonal Fruit Chutney: A sweet and tangy chutney made with fresh fruits adds an unexpected twist and enhances the flavors of savory tarts.
-
Ice Cream or Whipped Cream: Serve with a scoop of vanilla ice cream or a dollop of whipped cream for a delightful contrast with sweet tart fillings.
Serve these delightful pairings alongside your mini tart shells, and watch as they steal the show at your next gathering!
Mini Tart Shells Variations
There’s always room for creativity in the kitchen, so feel free to explore new twists on these delightful mini tart shells!
- Gluten-Free: Substitute all-purpose flour with a gluten-free blend for a flexible option that’s equally delicious.
- Savory Spice: Add a pinch of dried herbs or spices to the dough for a flavorful kick that pairs brilliantly with cheese or vegetable fillings.
- Sweet Upgrade: Mix in a teaspoon of vanilla extract or almond extract for a fragrant twist that enhances sweet fillings.
- Nutty Flavor: Swap a portion of the all-purpose flour with almond or hazelnut flour for a rich, nutty taste that’s perfect for holiday treats.
- Decadent Chocolate: Fold in cocoa powder into the dough to create a chocolate tart shell that pairs beautifully with rich cream fillings.
- Zesty Kick: Incorporate lemon or orange zest into the dough for a hint of citrus that brightens up any sweet combination.
- Dairy-Free: Replace butter with coconut oil or a vegan butter substitute for a delightful dairy-free version that doesn’t compromise on flavor.
- Spicy Heat: Add a dash of cayenne or chili powder to the dough for a unique, spicy twist that brings savory fillings to life.
Let your imagination run wild with these variations, and enjoy bringing custom touches to your mini tart shells!
Storage Tips for Mini Tart Shells
-
Room Temperature: Baked mini tart shells can be stored in an airtight container for up to 1 week. Keep them in a cool, dry place to maintain their flakiness.
-
Fridge: If you have leftover tart shell dough, it can be refrigerated for up to 1 week. Wrap it tightly in plastic wrap to prevent drying out.
-
Freezer: Baked mini tart shells can be frozen for up to 1 month. Place them in a single layer in a freezer-safe container or bag, ensuring they are well-protected from air.
-
Reheating: For best results, reheat frozen mini tart shells in a preheated oven at 350°F (175°C) for about 10 minutes. This restores their crispiness, ready for your favorite fillings.
Mini Tart Shells Recipe FAQs
What type of flour should I use for mini tart shells?
I recommend using all-purpose flour for the best structure, but you can easily substitute with gluten-free flour if needed. Just ensure it’s a 1:1 gluten-free baking blend for similar texture and taste.
How do I store leftover mini tart shells?
Baked mini tart shells can be kept in an airtight container at room temperature for up to 1 week. For longer storage, freeze them in a single layer in a freezer-safe bag or container, where they’ll last for up to 1 month. Just reheat in a preheated oven to restore their crispiness.
Can I freeze the mini tart shell dough?
Absolutely! Wrap the prepared dough tightly in plastic wrap and place it into a freezer bag. It can be frozen for up to 1 month. When you’re ready to use it, simply thaw it in the refrigerator overnight before rolling out.
What should I do if my tart shells puff up during baking?
To prevent puffing, have faith in the pricking step! Thoroughly prick the bottoms of the uncooked shells with a fork. This allows steam to escape while baking, ensuring they hold their shape and don’t bubble up.
Are mini tart shells suitable for gluten-free diets?
Yes! Just substitute the all-purpose flour with a gluten-free blend. Make sure to follow the recommended usage on the package to ensure the dough binds well and forms workable tart shells. Enjoy delicious treats without worry!
Can I use different fillings in my mini tart shells?
The more the merrier! Feel free to experiment with both sweet fillings, like pastry cream and fresh fruits, or savory options such as cream cheese and roasted vegetables. Just make sure your fillings are properly set or chilled before serving for the best experience!
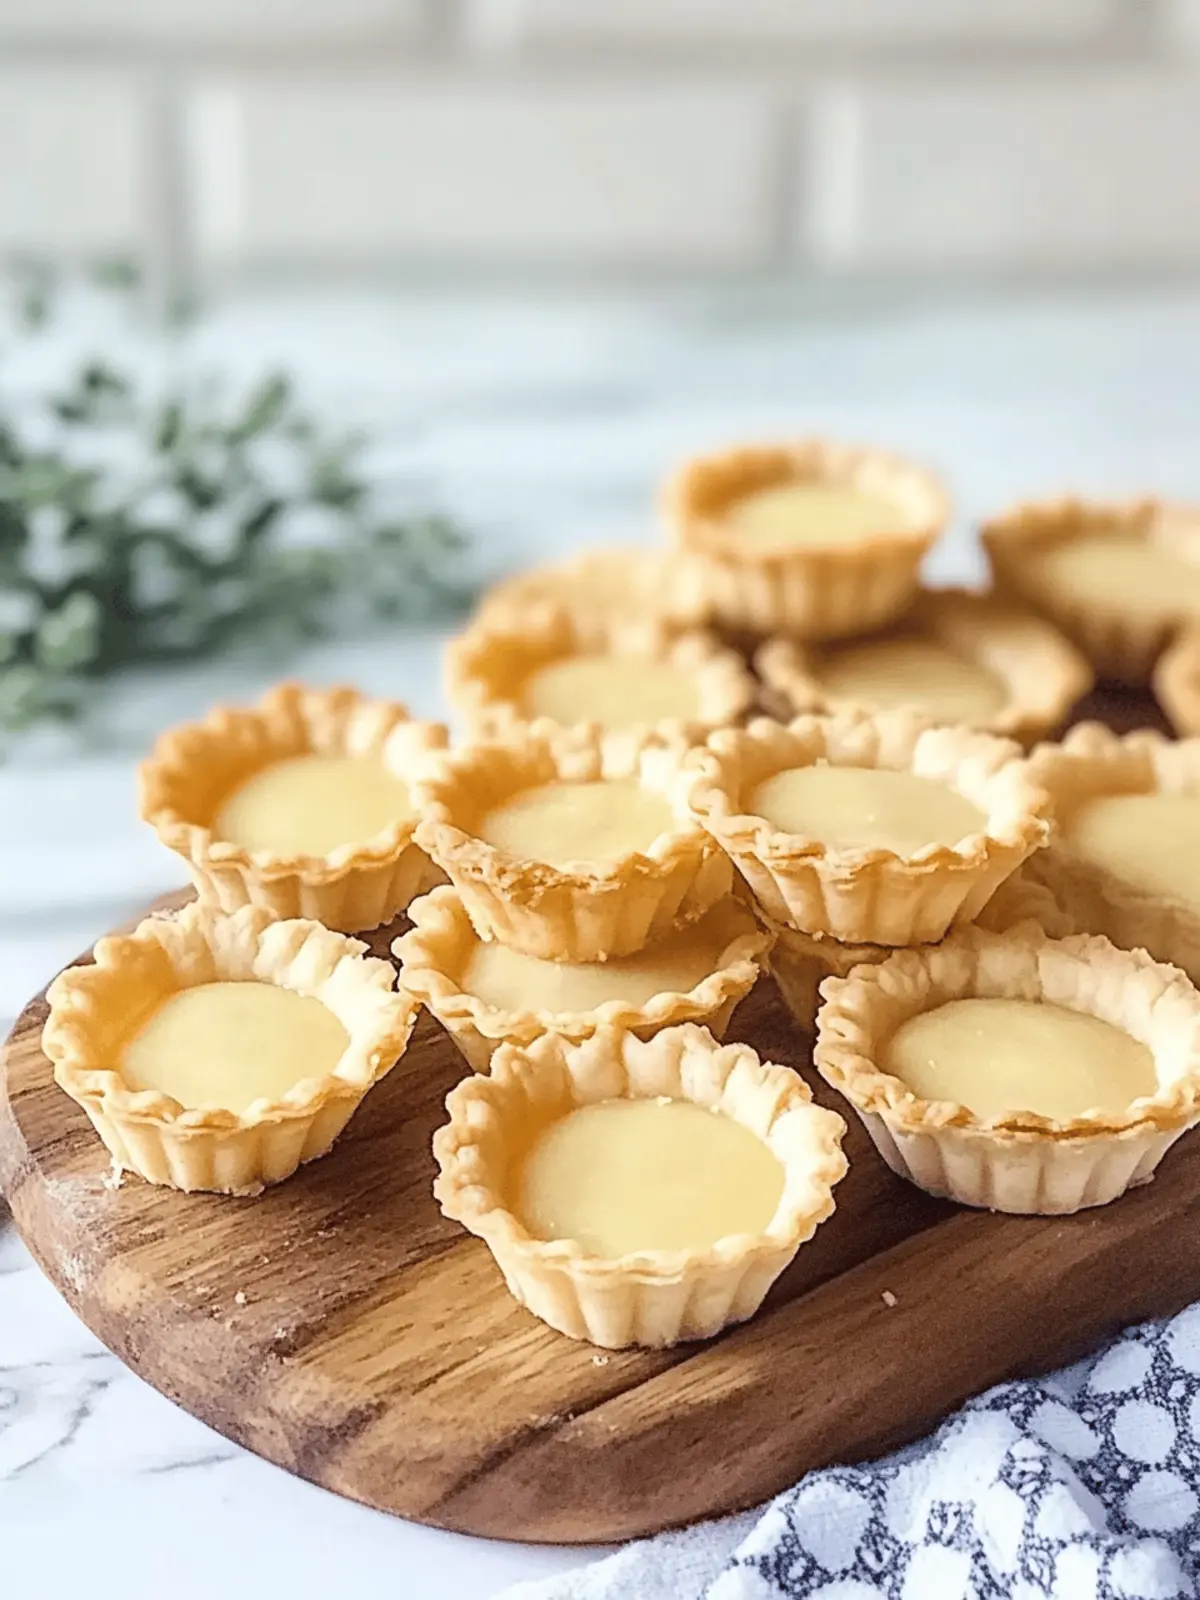
Irresistible Mini Tart Shells for Sweet or Savory Delights
Ingredients
Equipment
Method
- Blend egg yolks with milk and set aside in a bowl.
- Whisk flour, sugar, and salt together in a stand mixer bowl until well combined.
- Incorporate softened butter into the flour mixture, mixing until crumbly.
- Add the yolk-milk mixture and mix on low speed until a dough begins to form.
- Knead the dough briefly on a floured surface and divide it into two pieces.
- Wrap one piece in plastic wrap and chill in the refrigerator for about 30 minutes.
- Roll out the second piece on a lightly floured surface to about ¼ inch thick.
- Use a round cutter to cut out circles that will fit into your tart molds.
- Fit the dough circles into tart molds, pressing gently to shape them.
- Prick the bottoms of the tart shells with a fork and chill the molds in the refrigerator for 15-20 minutes.
- Preheat your oven to 350°F (175°C) while the tart shells chill.
- Bake the tart shells for 15-20 minutes until they are golden brown.
- Allow them to cool in the molds for a few minutes before carefully removing them.
- Optionally, brush the baked shells with a simple egg wash for a glossy finish.

