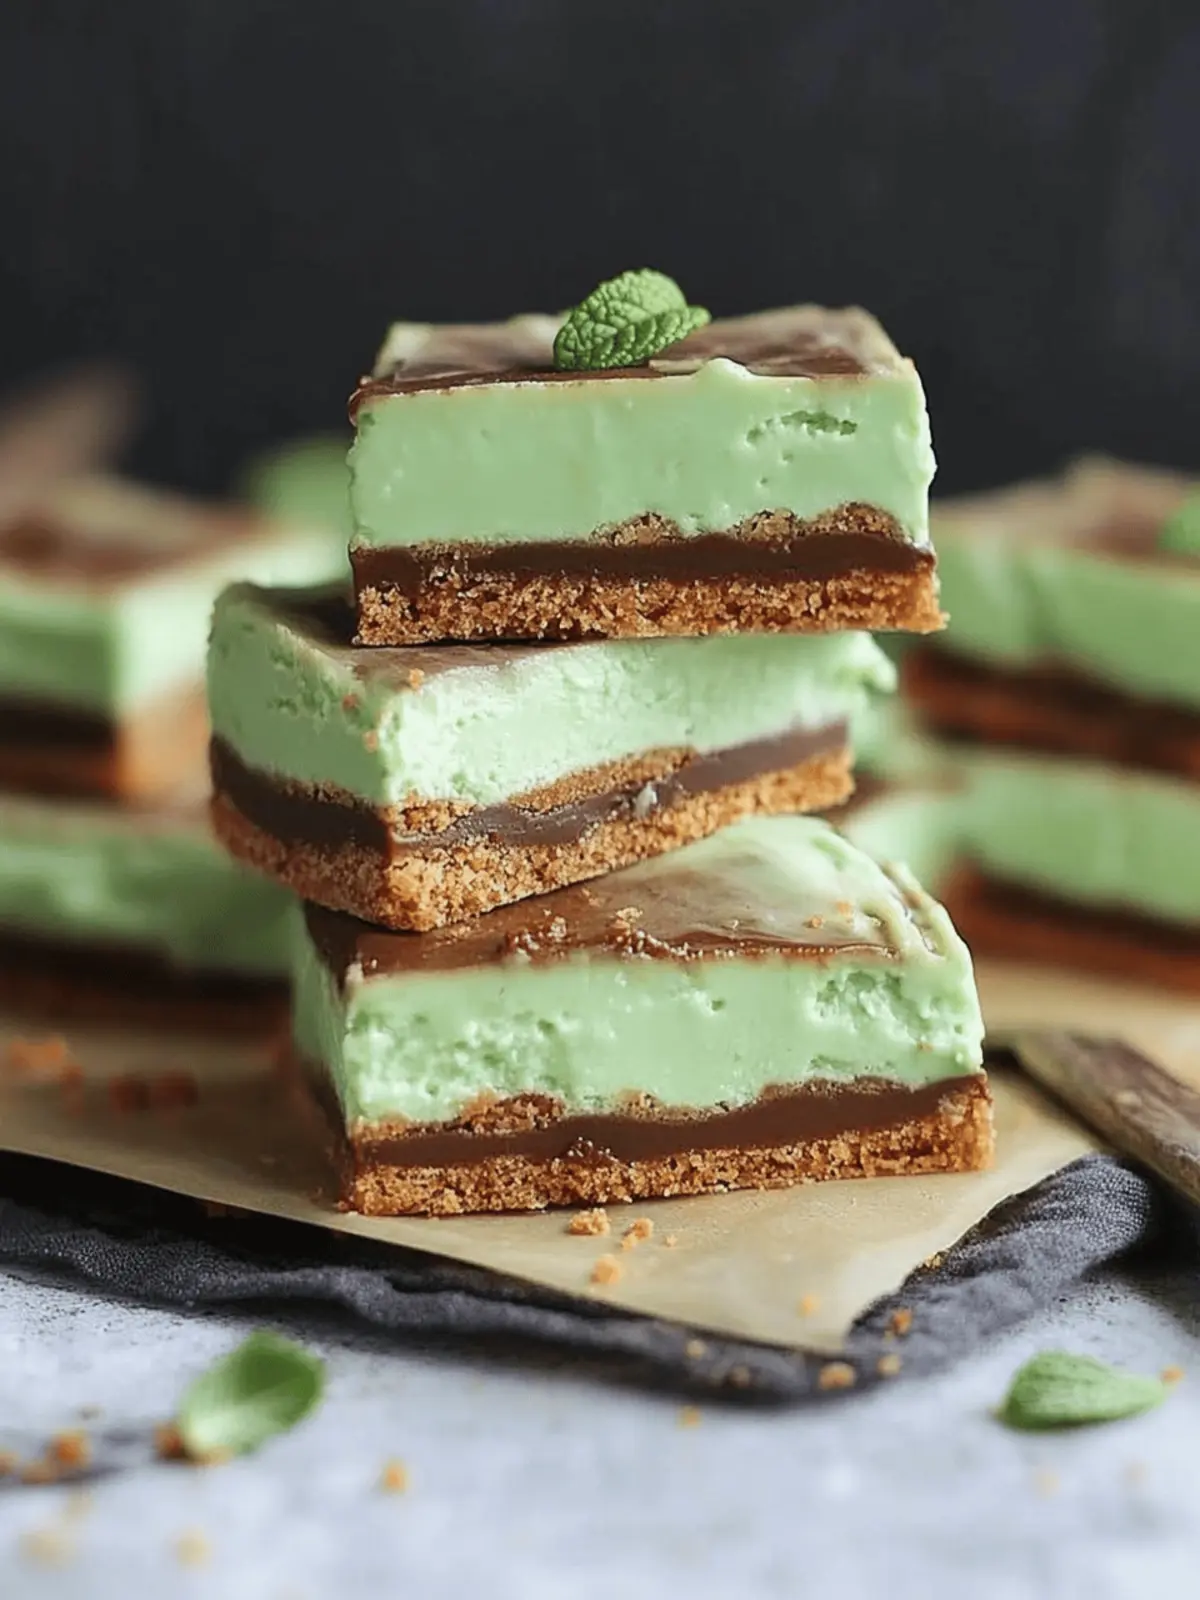
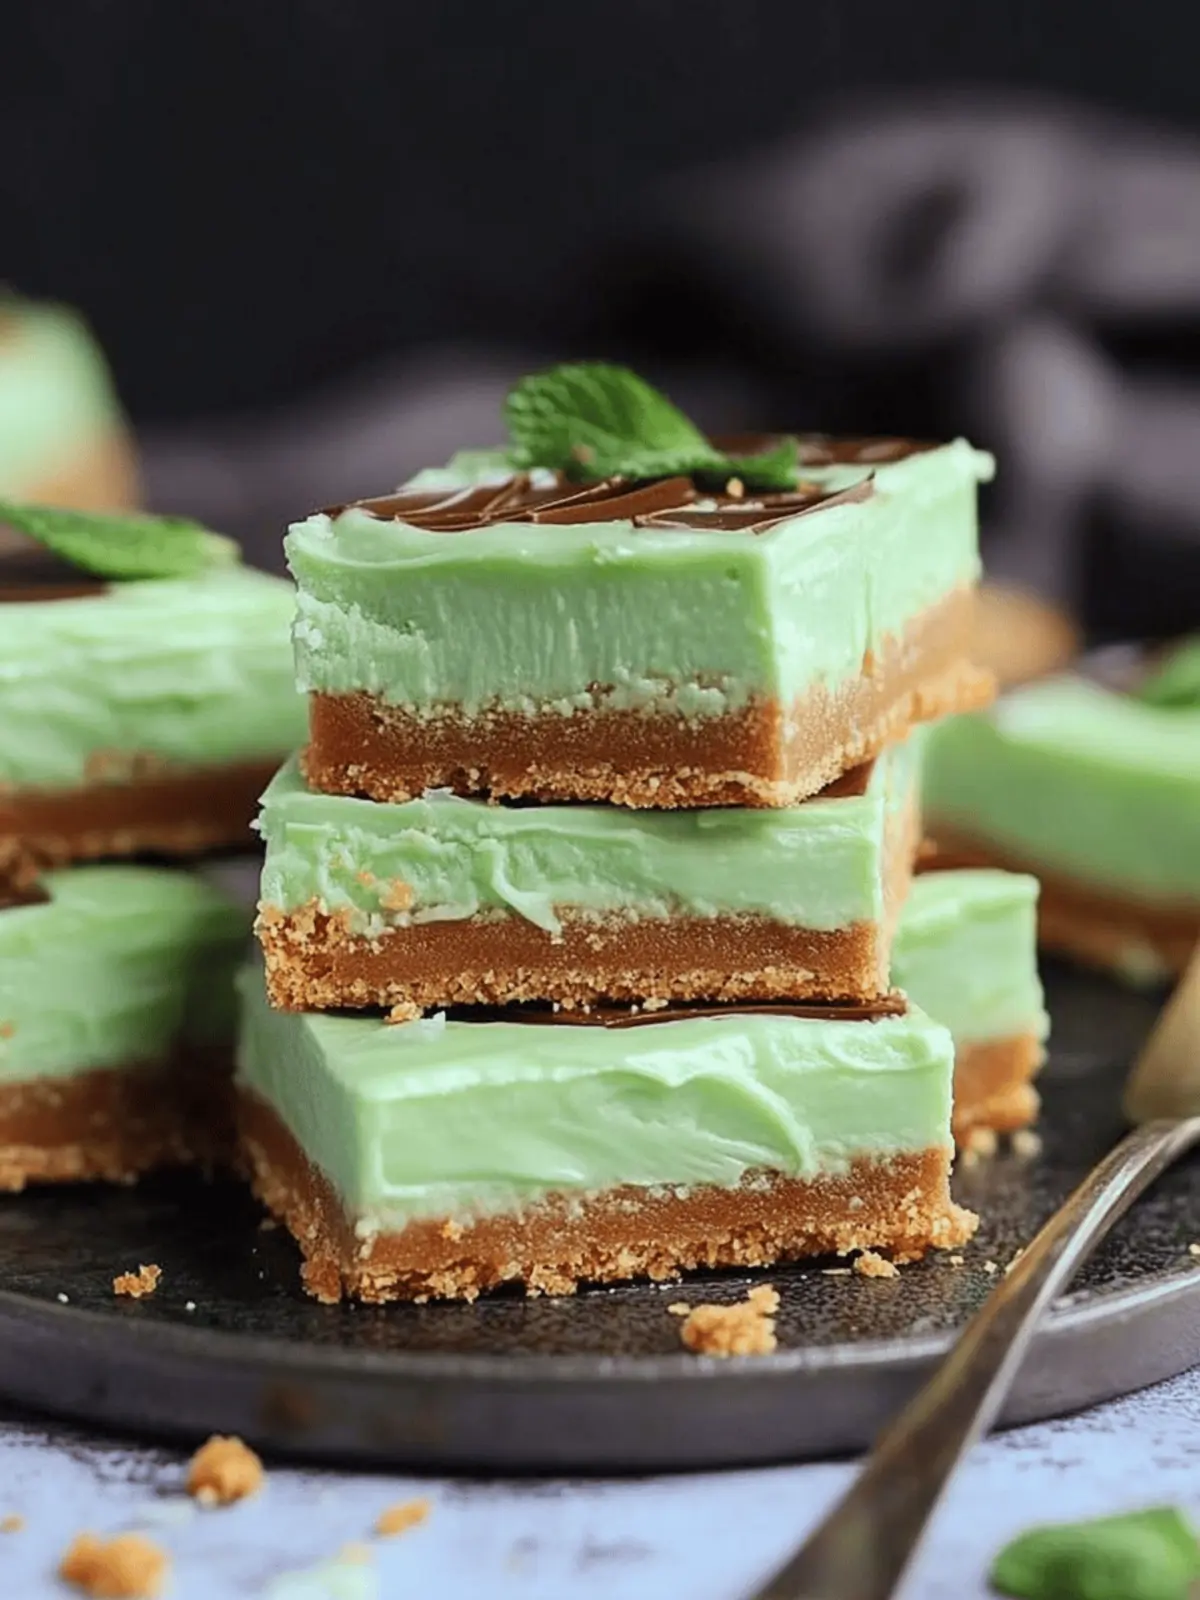
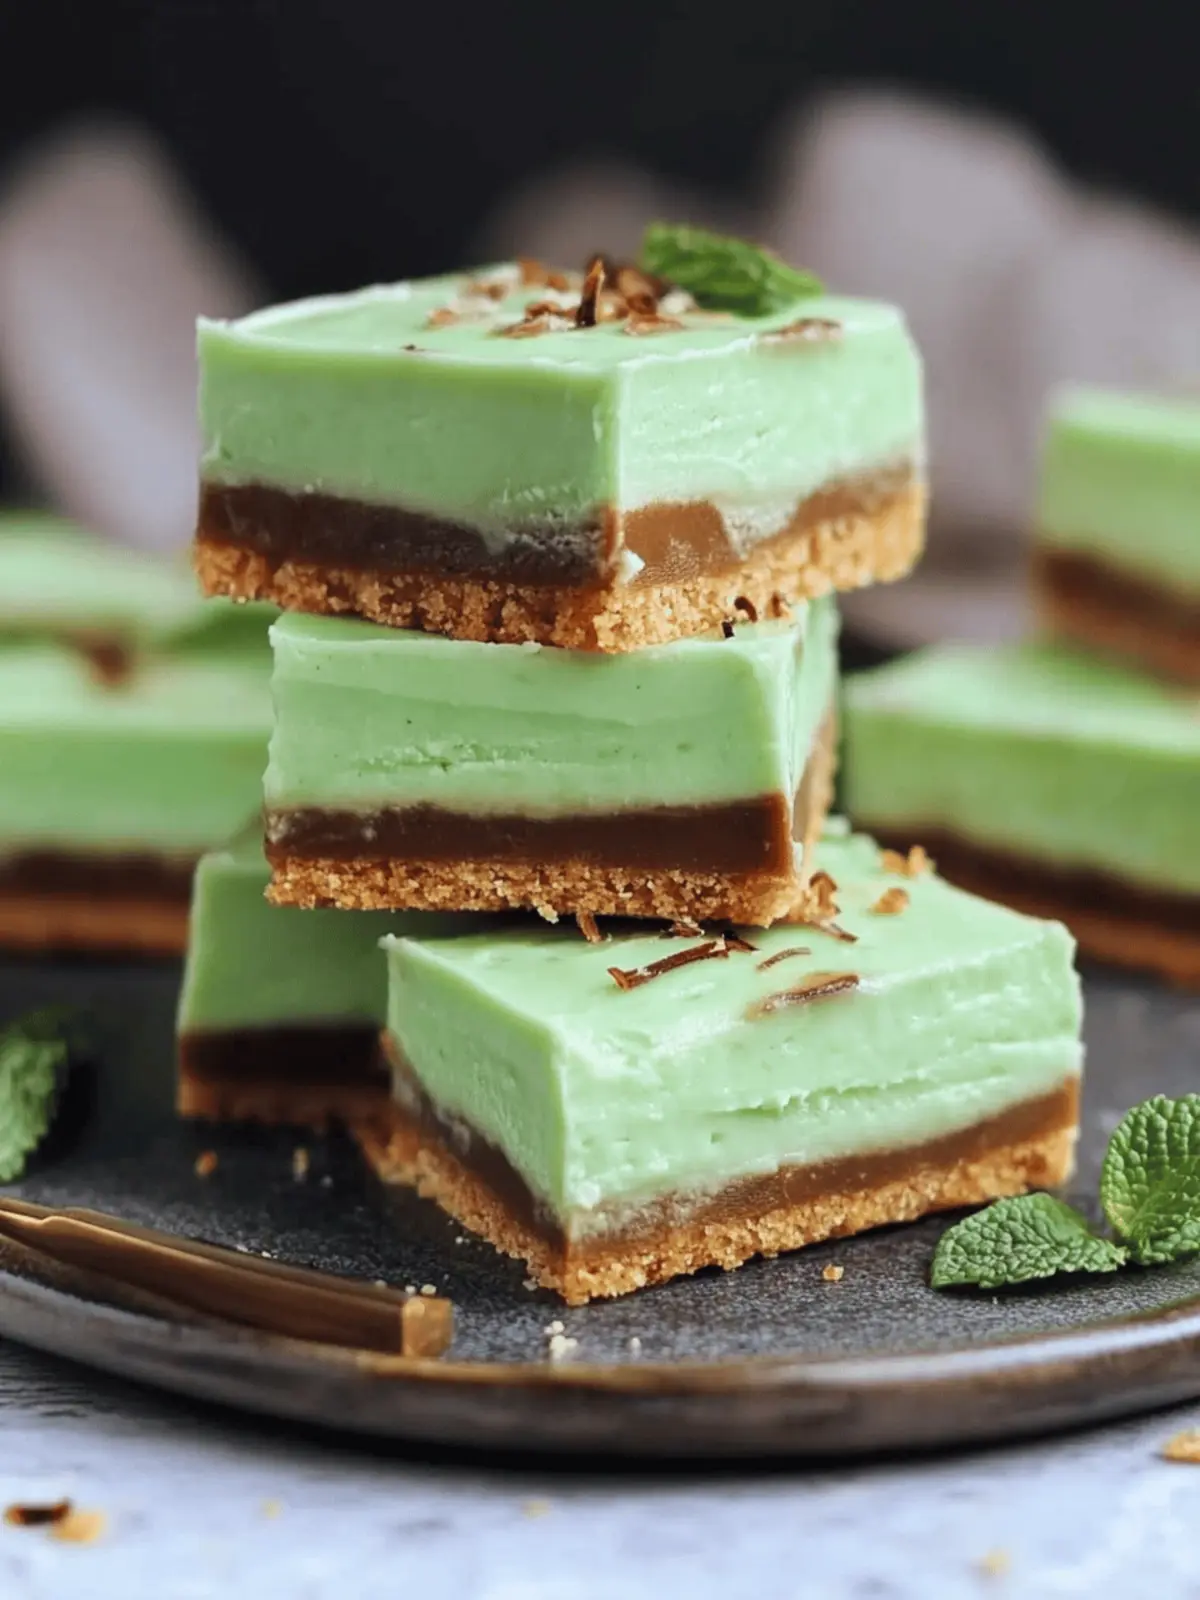
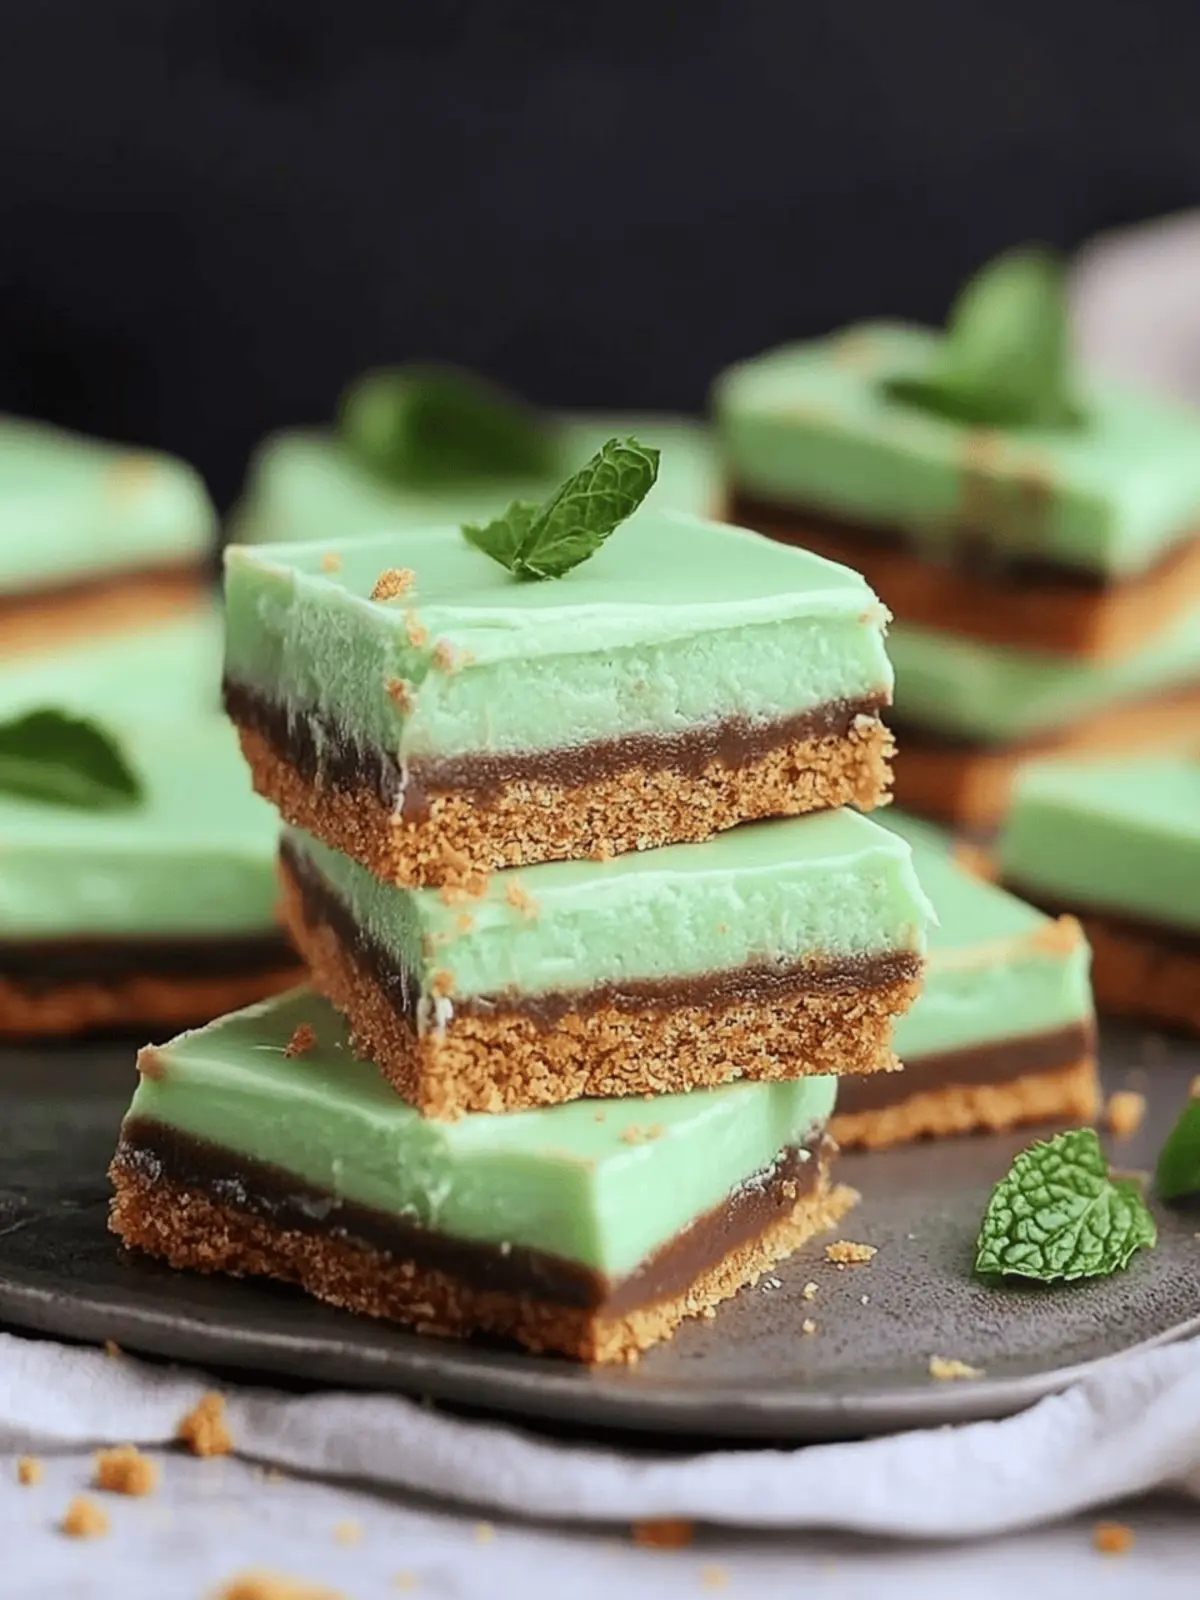
There’s something wonderfully nostalgic about the first bite of a No-Bake Mint Slice. As the chill of the creamy mint filling hits your tongue, it feels like a sweet embrace, instantly transporting me back to carefree school days spent sharing treats with friends. I can still remember the joy of unwrapping this delightful dessert from lunch boxes; it was always the highlight of the day!
This easy No-Bake Mint Slice recipe is perfect for those moments when you crave something special without the fuss of baking. With a crumbly biscuit base layered with invigorating mint filling and topped off with silky chocolate, it’s a crowd-pleaser that satisfies any sweet tooth. Plus, it requires minimal effort—ideal for anyone feeling a tad tired of the fast-food routine or just wishing to whip up something homemade that impresses. So grab your ingredients and let’s create a treat that’s both simple and utterly delicious!
Why is this Mint Slice so irresistible?
Simple Preparation: This no-bake recipe whips up with minimal effort—just mix, chill, and enjoy!
Nostalgic Delight: With flavors reminiscent of school lunches, each bite brings back warm memories.
Crowd-Pleasing Treat: Ideal for gatherings, everyone from kids to adults will be reaching for seconds.
Customizable Flavor: Switch up the mint for orange or dark chocolate for a unique twist!
Easy Storage: Keep these delicious slices in your fridge for up to a week—perfect for those late-night cravings!
Indulge yourself in this delightful minty treat and enjoy a homemade dessert that beats the usual fast food options!
Mint Slice Ingredients
• Get ready to create a delightful treat with these easy-to-find ingredients!
For the Biscuit Base
- Digestive Biscuits – The crumbly base provides a sturdy structure; substitute with graham crackers if needed.
- Unsalted Butter (150g) – Melting this ingredient is key to binding everything together smoothly.
- Condensed Milk (100g) – Offers delightful sweetness and a creamy texture; increase butter for a firmer bite.
For the Mint Filling
- Icing Sugar (350g) – Essential for sweetness and the creamy consistency of your mint slice.
- Peppermint Extract (2 tsp) – The star flavor that brings that refreshing minty essence; adjust for intensity.
- Green Food Colouring – Optional for a fun aesthetic; omit if you prefer a natural look.
- Water (2-3 tbsp) – Use to reach your desired thickness; add slowly to prevent a runny mixture.
For the Topping
- Milk Chocolate (300g) – The rich, melty layer that crowns your mint slice; adding oil makes cutting easier.
Whip up this easy no-bake mint slice and enjoy a delightful dessert that brings joy and satisfaction with every bite!
How to Make Mint Slice
-
Prepare the Tin: Line a 9×9″ square tin with parchment paper, ensuring all sides are covered for easy removal later.
-
Create the Base: Blitz the digestive biscuits in a food processor until they form fine crumbs. Mix in the melted butter and condensed milk until fully combined, resembling damp sand. Press this mixture into the bottom of the lined tin, and chill in the fridge for about 30 minutes until firm.
-
Make the Mint Filling: In a mixing bowl, combine the icing sugar, peppermint extract, food coloring, and enough water to reach a thick paste-like consistency. Spread this velvety mint mixture evenly over your chilled biscuit base. Allow it to set for 1 hour in the fridge.
-
Prepare the Topping: Melt the milk chocolate in a heatproof bowl over simmering water or in the microwave, stirring gently until smooth. Pour the melted chocolate over the mint filling, ensuring you don’t disturb the layers. Refrigerate for an additional 1-2 hours until everything is fully set.
-
Slice and Enjoy: Remove from the fridge, gently lift out the mint slice using the parchment paper, and cut it into 16-25 pieces. Enjoy your delightful homemade treat!
Optional: Serve with a dollop of whipped cream for an extra indulgent experience.
Exact quantities are listed in the recipe card below.
How to Store and Freeze Mint Slice
Fridge: Keep your mint slice in an airtight container in the refrigerator for up to 1 week. This helps maintain its delicious firmness and flavor.
Freezer: For longer storage, freeze the sliced mint pieces in a single layer on a baking sheet. Once frozen solid, transfer them to a freezer-safe container; they’ll last for up to 3 months.
Thawing: To enjoy, simply remove your desired number of slices from the freezer and let them thaw in the fridge for a few hours before serving.
Reheating: The mint slice is best enjoyed cold, but if you prefer it slightly warmed, give it a quick 10-second burst in the microwave—just be careful not to melt the chocolate!
Make Ahead Options
These Easy No-Bake Mint Slices are perfect for meal prep enthusiasts! You can prepare the biscuit base and mint filling up to 24 hours in advance. Simply make the base and chill it as directed. For the mint filling, combine all ingredients and spread it over the base, then refrigerate. If you prep it ahead, keep it covered in the fridge to maintain freshness and prevent the mint from losing its vibrant color. When you’re ready to impress your family or guests, simply melt the chocolate topping, pour it over the set filling, and refrigerate until fully firm, bringing the same deliciousness but with minimal effort!
Mint Slice Variations
Feel free to get creative and make this delightful mint slice your own with these simple tweaks!
-
Citrus Twist: Swap out the mint extract for orange extract to brighten up the flavor profile. The zesty notes create a refreshing alternative that’s perfect for summer gatherings.
-
Dark Chocolate Delight: Use dark chocolate instead of milk for a richer topping. This variation introduces a bold, slightly bitter contrast that beautifully balances the sweetness of the mint filling.
-
Nutty Crunch: Add a handful of chopped nuts, like walnuts or almonds, to the biscuit base for added texture. Nuts bring a delightful crunch that complements the creamy layers magnificently.
-
Vegan-Friendly: Replace butter with coconut oil and condensed milk with a coconut milk alternative. This version not only caters to vegan diets but also infuses a subtly different flavor that can be oh-so-delicious!
-
Mint Chocolate Chip: Fold in some mini chocolate chips into the mint filling for an extra chocolatey surprise in every bite. The chips add a delightful texture that makes each slice even more indulgent.
-
Spicy Kick: For those who love a bit of heat, mix in a pinch of cayenne pepper or chili powder into the chocolate topping. This adventurous twist brings a surprising warmth that heightens the flavor experience.
-
Layered Surprise: Create a layered effect by adding a thin layer of raspberry jam between the biscuit base and mint filling. This fruity addition adds a sweet-tart flavor that enhances the overall dessert.
-
Double Chocolate: Use both milk and white chocolate for the topping; swirl them together for a marbled effect. This not only looks stunning but also provides a delightful blend of flavors that keeps everyone guessing.
Enjoy these variations and transform your mint slice into a personalized creation that brings warmth and joy to your dining table!
Expert Tips for Mint Slice
-
Fine Crumbs: Ensure your digestive biscuits are ground into fine crumbs for better binding. Larger chunks may lead to a crumbly base.
-
Press Firmly: When pressing the biscuit mixture into the tin, use the back of a spoon to compress it nicely. This helps prevent the base from falling apart when sliced.
-
Chocolate Melting: Melt your milk chocolate slowly to avoid burning. Mixing in a little vegetable oil can make it easier to cut once set.
-
Mint Flavor Balance: Adjust the peppermint extract to your taste. If you’re unsure, start with less and gradually increase until you find your perfect mint slice flavor.
-
Thickening Tips: When adding water to your mint filling, do so gradually to ensure it doesn’t become too runny. The right consistency is a thick paste.
Create a lovely no-bake treat that brings smiles to everyone’s faces!
What to Serve with No-Bake Mint Slice?
Indulging in a No-Bake Mint Slice is an experience best complemented by delightful pairings that elevate both flavor and nostalgia.
-
Fresh Berries: The tartness of fresh berries adds a juicy contrast to the sweet, creamy mint slice. A handful of raspberries or strawberries can brighten your plate beautifully.
-
Chocolate Ice Cream: If you’re feeling extra indulgent, serving a scoop of rich chocolate ice cream alongside your mint slice creates a decadent duo that no one can resist!
-
Coffee or Espresso: The slight bitterness of coffee or a robust espresso nicely balances the sweetness of the mint slice. This combination is perfect for an afternoon pick-me-up.
-
Whipped Cream: A dollop of light, fluffy whipped cream adds creamy texture and elevates the dessert to new heights of indulgence. It’s an inviting finish for your minty treat.
-
Mint Tea: Enhance the minty flavor profile by pairing your slice with a soothing cup of mint tea. The warm, herbal notes complement every bite without overpowering it.
-
Dark Chocolate Dipped Biscotti: For a textured crunch, serve with dark chocolate-dipped biscotti. The contrast between crisp cookie and soft mint is sure to please!
Choose any of these delightful pairings for an inviting treat that will make your next gathering a sweet success!
No-Bake Mint Slice Recipe FAQs
How do I choose ripe ingredients for this mint slice?
Absolutely! For the best results, make sure your butter is fresh and unsalted. This will ensure a rich flavor and smooth texture in your biscuit base. Icing sugar should be fine and dry—avoid any lumps! Lastly, choose a good-quality peppermint extract for optimal mint flavor; the better the extract, the more vibrant your mint slice will be.
What’s the best way to store leftover mint slice?
To keep your No-Bake Mint Slice fresh, store it in an airtight container in the refrigerator. It’ll maintain its delightful firmness for up to 1 week. I often make a double batch, and wrapping them tightly in parchment paper helps preserve that fresh taste for longer!
Can I freeze my mint slice?
Yes! Freezing is a wonderful option if you’ve made too much or want to enjoy leftovers later. First, slice the mint slice into individual pieces and place them on a baking sheet lined with parchment paper. Freeze until solid, then transfer the slices to a freezer-safe container or bag. They’ll be good for up to 3 months. To thaw, pop them in the fridge for a few hours before serving—easy peasy!
What should I do if my mint filling is too runny?
No need to worry! If your mint filling ends up runny, you can thicken it by gradually adding more icing sugar until you achieve the desired consistency. Make sure to mix well to avoid lumps. If it’s too thick, a tiny splash of water can balance it out, but go slow—too much can lead you back to square one!
Are there any dietary considerations for this recipe?
This No-Bake Mint Slice contains dairy due to the butter and condensed milk, so it’s not suitable for those with lactose intolerance. You can substitute with dairy-free butter and coconut cream to create a lactose-free version. Always check labels for allergens like gluten and nuts when choosing your biscuits and chocolate. Enjoy safely!

Irresistible Mint Slice No-Bake Recipe for Sweet Cravings
Ingredients
Equipment
Method
- Line a 9x9" square tin with parchment paper.
- Blitz the digestive biscuits into fine crumbs.
- Mix in melted butter and condensed milk until combined.
- Press mixture into the lined tin and chill for 30 minutes.
- Combine icing sugar, peppermint extract, food coloring, and water for mint filling.
- Spread mint mixture over the chilled biscuit base and set for 1 hour.
- Melt milk chocolate and pour over the mint filling.
- Refrigerate for 1-2 hours until set.
- Lift out using parchment and cut into 16-25 pieces.


