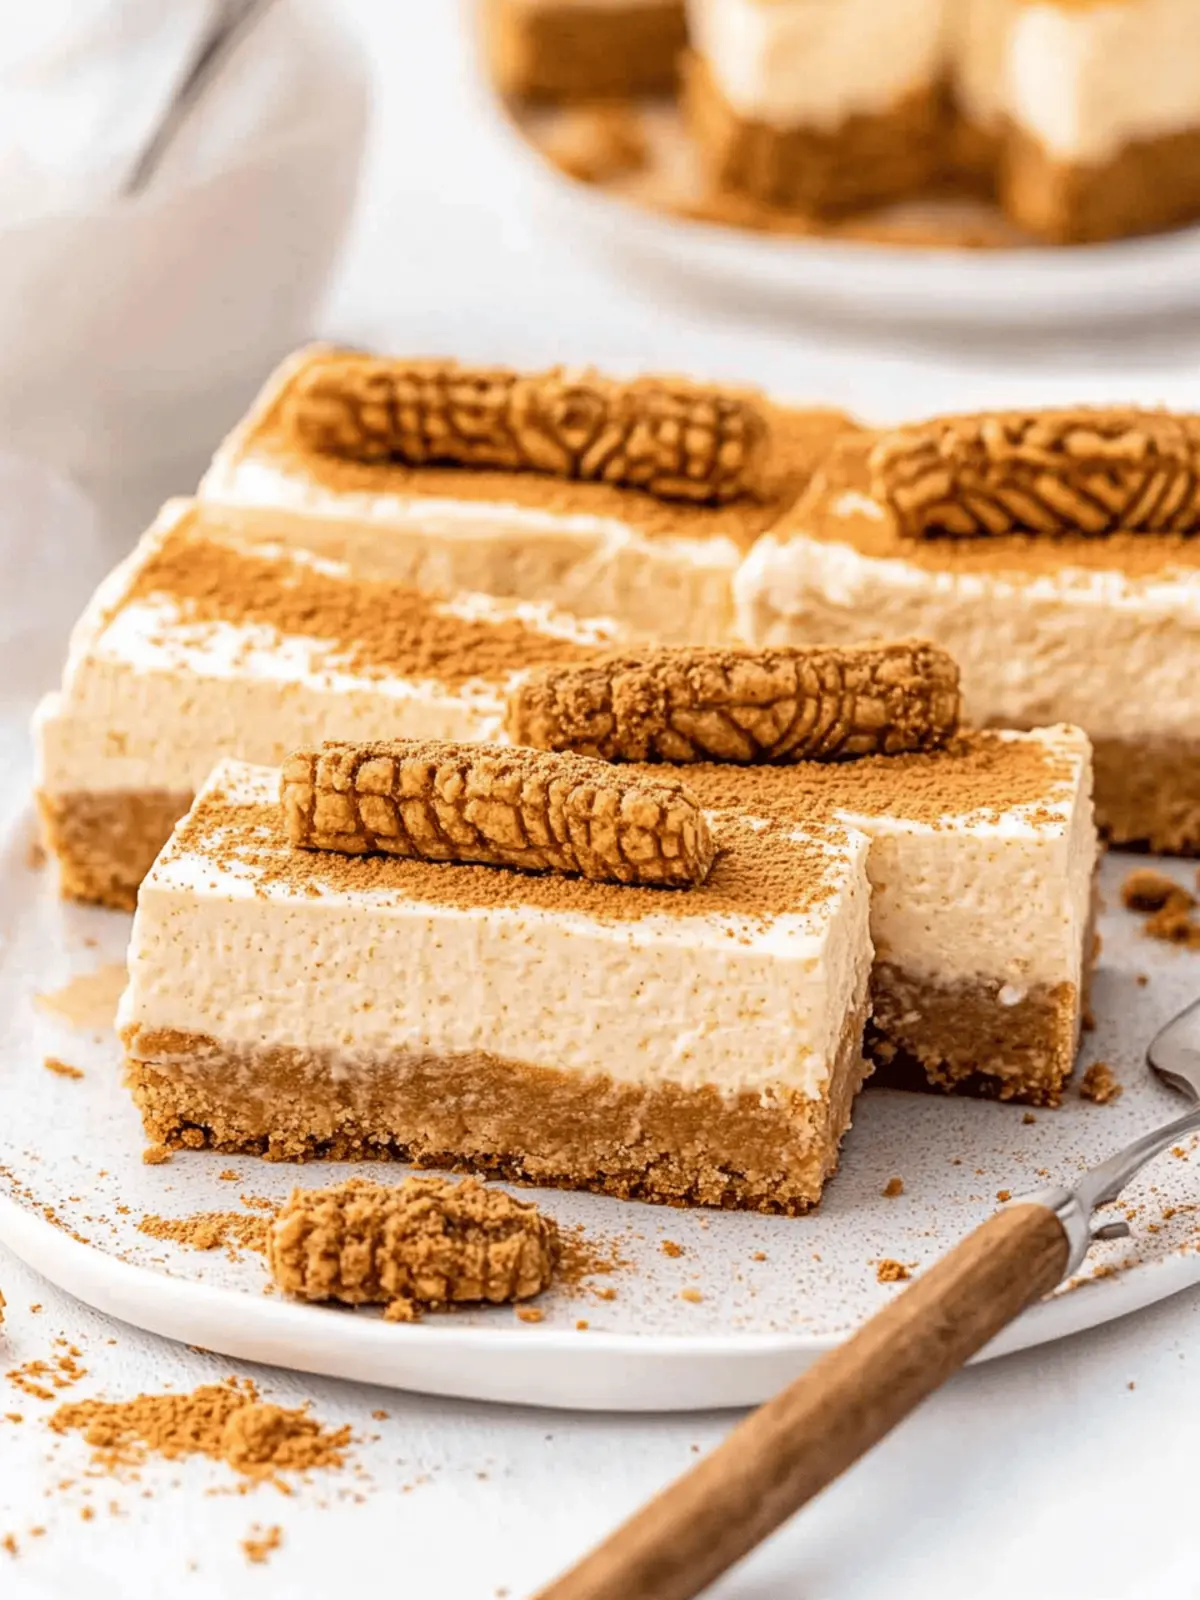
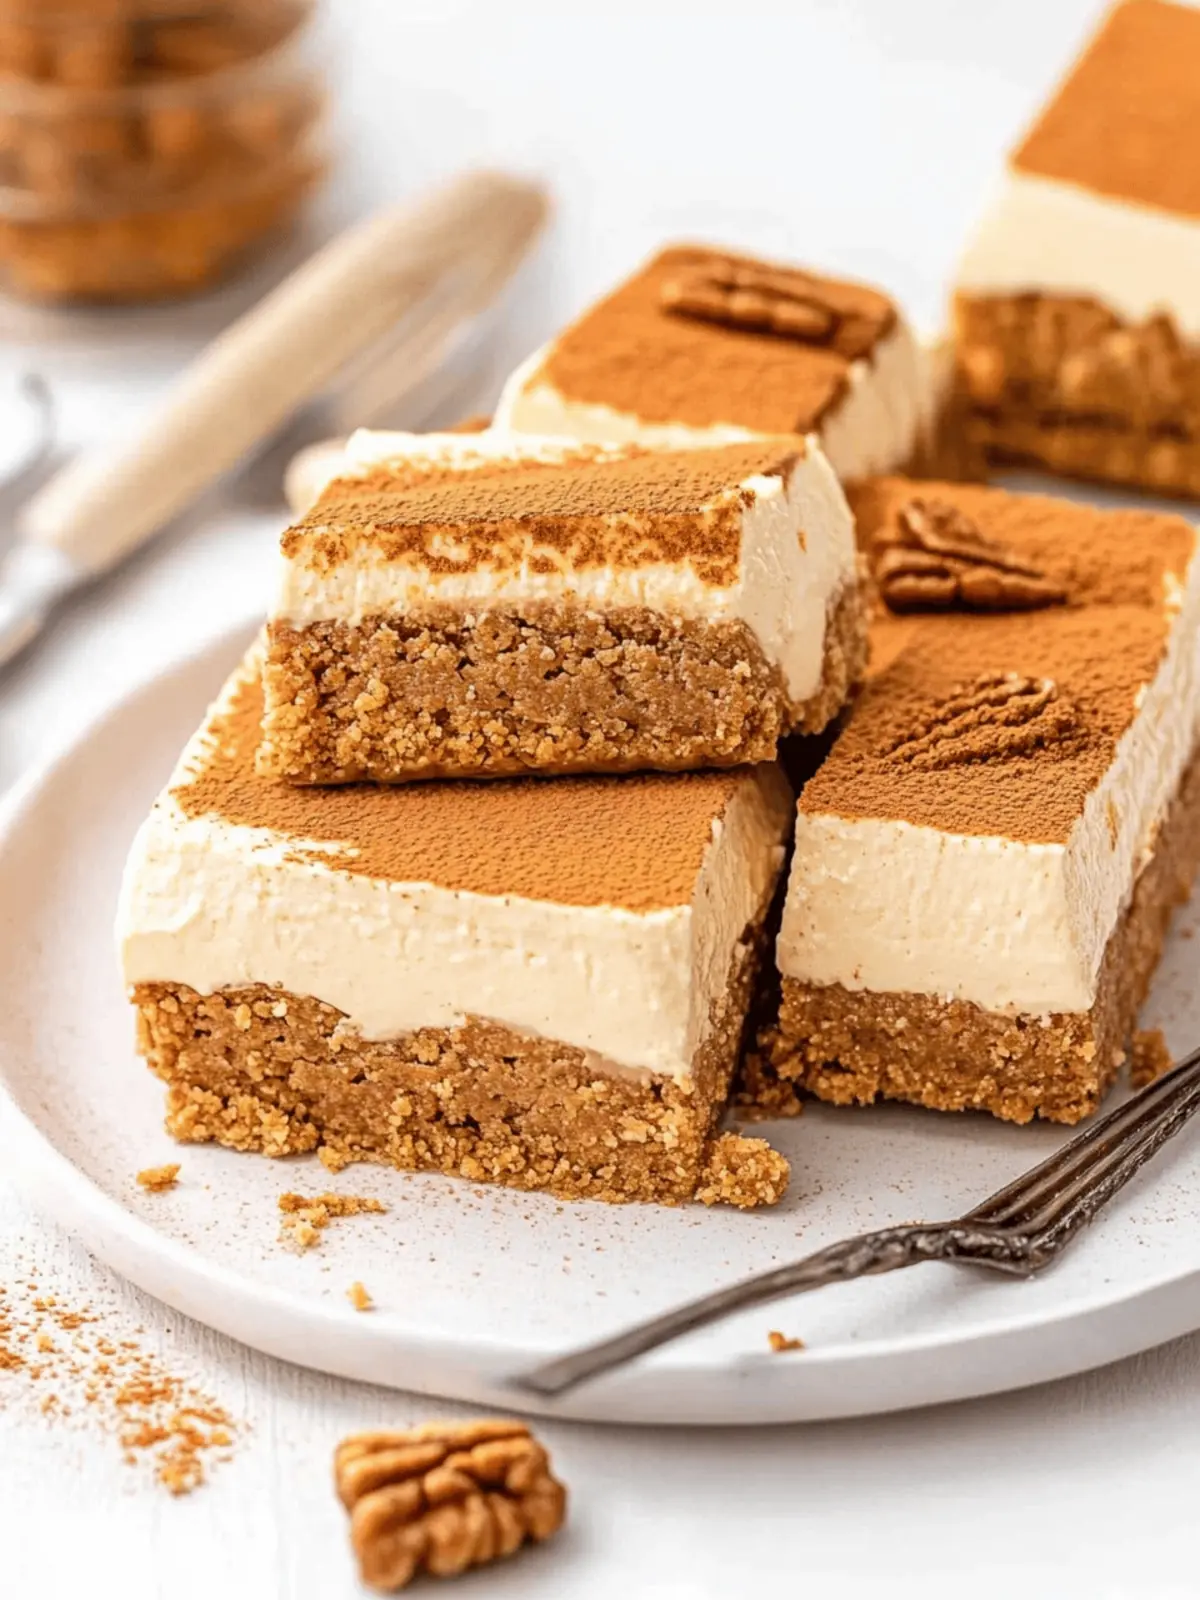
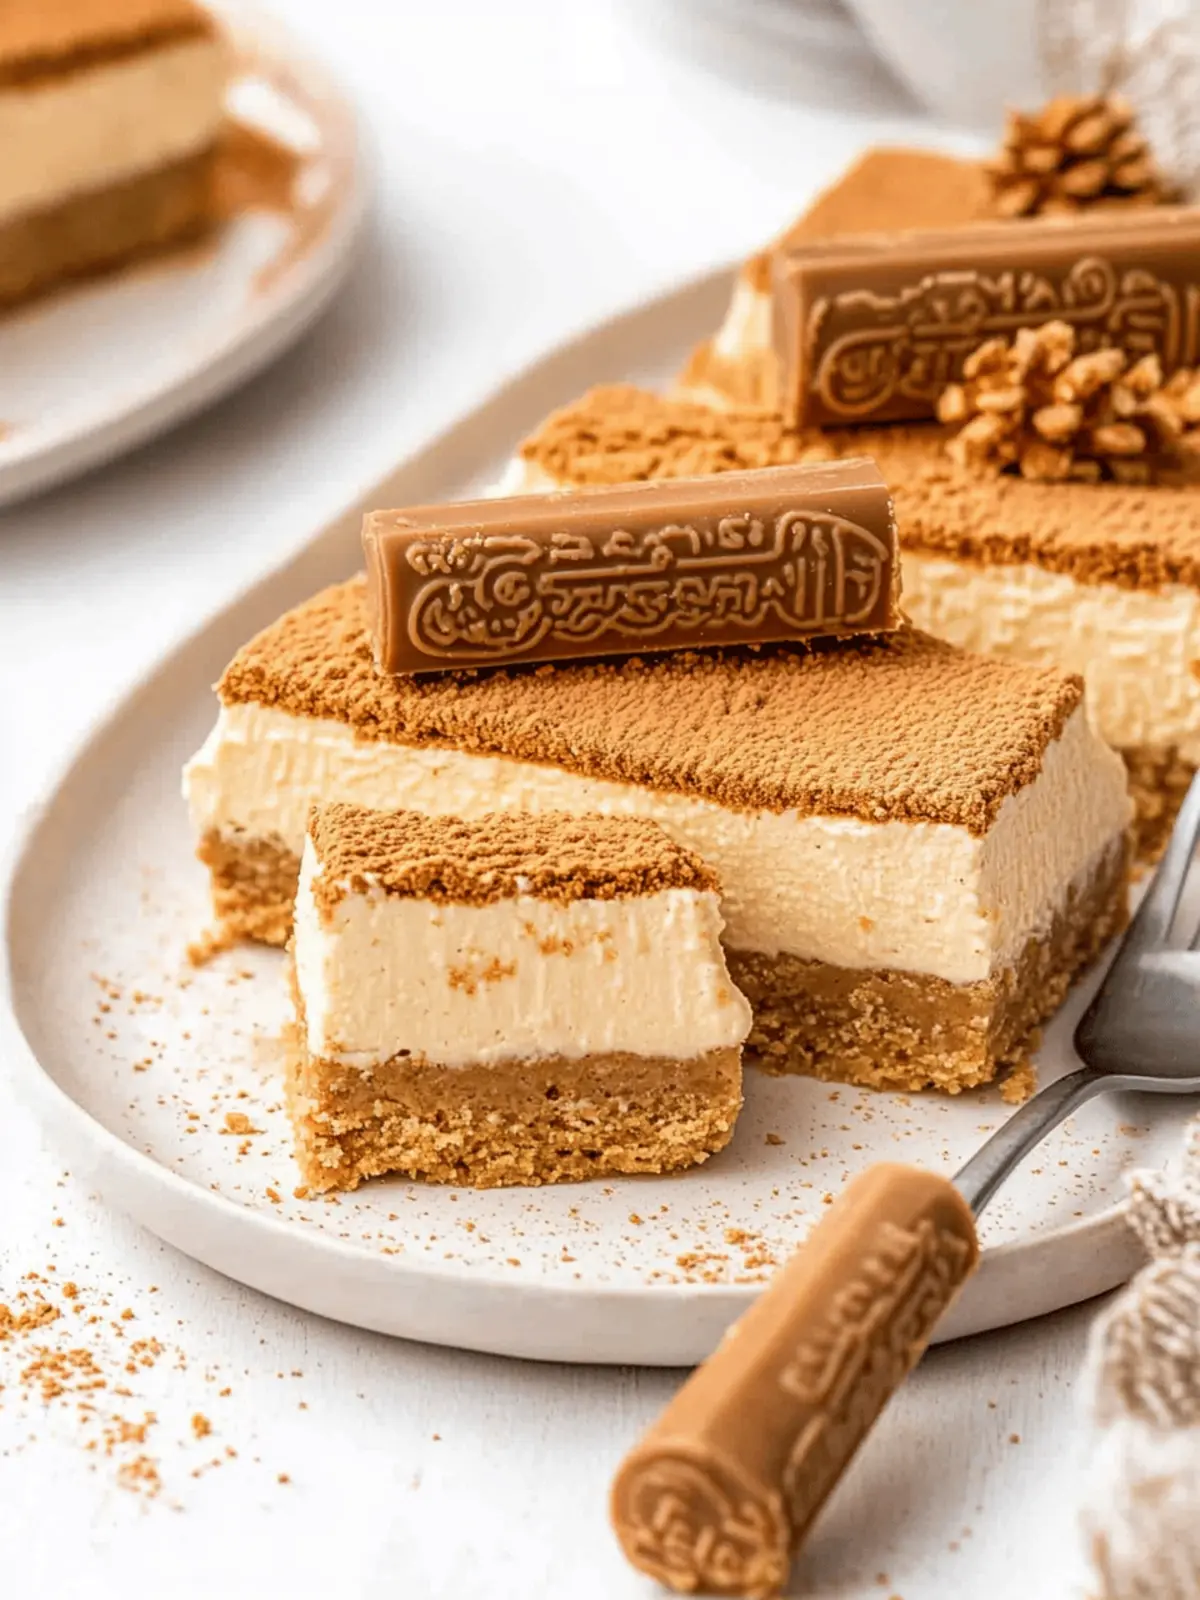
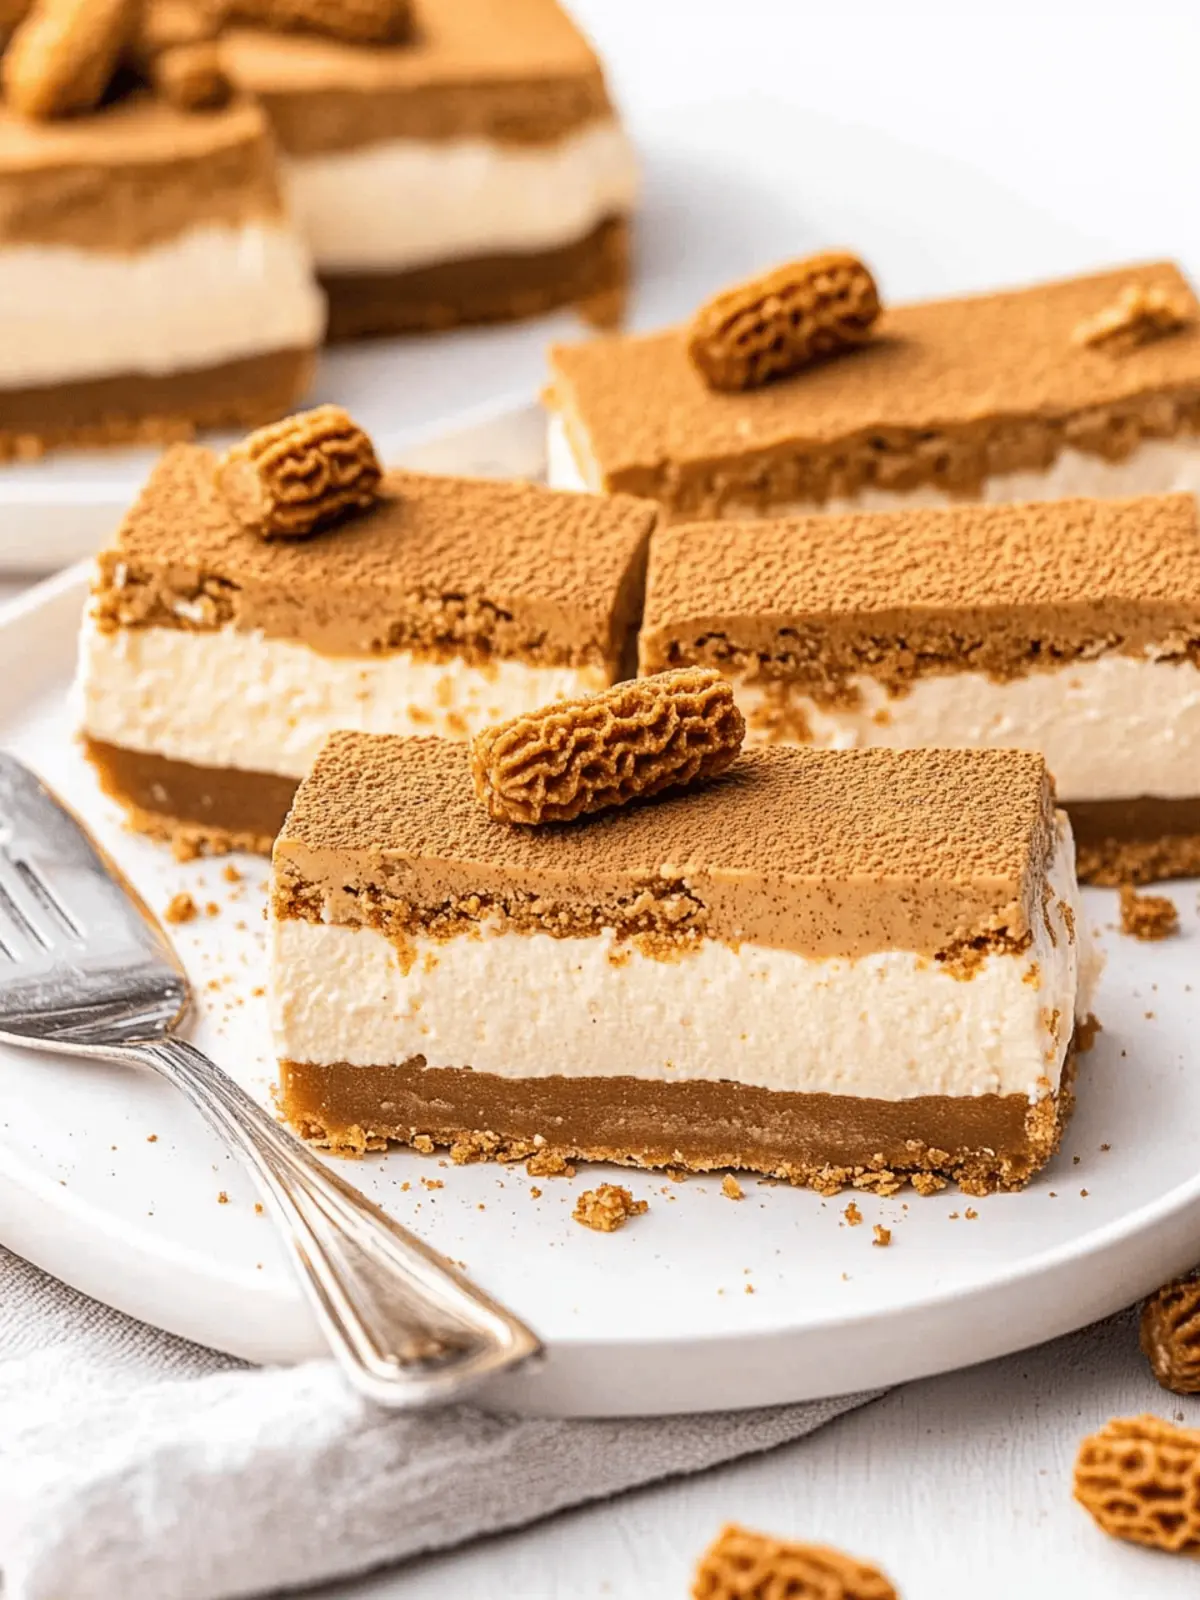
When the cravings for something sweet hit, I often find myself reminiscing about my favorite dessert—but then I remember this gem: No bake Biscoff cheesecake bars! Imagine layers of luscious, creamy cheesecake that seamlessly melds with the rich, spiced flavor of Biscoff cookie butter. The delightful contrast of a crunchy cookie crust and velvety filling makes this treat truly special.
In a world full of complicated recipes and excess sugar, I love how this easy-to-make dessert skips the oven and the fuss—making it the perfect solution for any gathering or simply when I need a quick pick-me-up. With just a handful of ingredients, you’ll whip up a show-stopping treat without breaking a sweat. Trust me, your taste buds will thank you! Let’s dive into this delightful no-bake wonder that’s sure to impress both your friends and your sweet tooth.
Why are no bake Biscoff cheesecake bars a must-try?
Irresistible, these creamy delights will satisfy any sweet tooth, effortlessly blending the flavors of cheesecake and cookie butter in every bite. Simplicity is key: no baking means less mess and more time for enjoying! Versatile enough to dress up with toppings, they’re perfect for any occasion. Crowd-Pleaser certified, these bars will impress friends and family alike. For more inspiration, check out our tips on dessert serving suggestions. Timeless indulgence with a modern twist, show off your kitchen prowess without the fuss!
No Bake Biscoff Cheesecake Bars Ingredients
• Everything you need for this creamy delight!
For the Crust
- Biscoff Cookies – Provide a sweet, spiced flavor for the crust; feel free to substitute with other flavored biscuits.
- Melted Butter – Binds the crust ingredients together; it’s essential for achieving that perfect texture.
For the Filling
- Cream Cheese – Forms the creamy base of the cheesecake; opt for full-fat for optimal richness.
- Biscoff Spread – Adds that luxurious cookie butter flavor to your filling; you can swap this with other cookie spreads if desired.
- Heavy Whipping Cream – Whipped to soft peaks, it lightens the cheesecake filling; a crucial step for that airy texture.
- Granulated Sugar – Sweetens the filling and balances flavors; adjust to your taste preference for the best no bake Biscoff cheesecake bars!
For the Decoration
- More Biscoff Spread – Drizzle on top for an extra indulgent touch.
- Crushed Biscoff Cookies – A lovely sprinkle adds crunch and visual appeal; use them generously!
- Whole Cookies – For an elegant presentation, a few whole cookies make a perfect garnish.
How to Make No Bake Biscoff Cheesecake Bars
-
Prepare the Crust: Begin by crushing Biscoff cookies into fine crumbs. You can use a food processor for ease, or place them in a zip-top bag and crush them with a rolling pin until finely ground.
-
Mix the Crust: Combine the cookie crumbs with melted butter in a bowl. Stir until the mixture resembles wet sand. This blend will form the delicious base of your cheesecake bars.
-
Form the Crust: Line the bottom of a rectangular pan (about 8×8 inches) with parchment paper for easy lifting later. Press the cookie mixture firmly into the base of the pan, ensuring it’s evenly spread. Freeze for about 15-20 minutes to set.
-
Make Cheesecake Filling: In a large bowl, blend softened cream cheese and Biscoff spread together until smooth. In another bowl, whip heavy cream with granulated sugar until it reaches soft peaks. Gently fold the whipped cream into the cream cheese mixture in two parts, ensuring you maintain that lovely airy texture.
-
Layer the Cheesecake: Spread half of the cheesecake filling over the chilled crust evenly. Add a layer of Biscoff spread on top, and then finish with the remaining cheesecake filling. Smooth the top with a spatula for a beautiful finish.
-
Chill: Cover the pan and refrigerate for a minimum of 8 hours, although overnight is best. This setting time allows the flavors to meld perfectly and the texture to become irresistibly creamy.
-
Decorate and Serve: Once set, remove the cheesecake bars from the pan using the parchment paper. Drizzle with melted Biscoff spread, sprinkle with crushed cookies, and top with whole cookies. Slice into bars and serve chilled!
Optional: For an extra treat, add a dollop of whipped cream on top when serving.
Exact quantities are listed in the recipe card below.
Expert Tips for No Bake Biscoff Cheesecake Bars
-
Room Temperature Cream Cheese: Ensure your cream cheese is at room temperature for easy blending. Cold cream cheese can lead to lumps in your filling.
-
Gentle Folding: Use a spatula to gently fold whipped cream into the cream cheese mixture. This preserves the airy texture, preventing it from becoming dense.
-
Proper Setting Time: Allow your no bake Biscoff cheesecake bars to chill for at least 8 hours, ideally overnight. This step is crucial for achieving the perfect creamy texture.
-
Pan Lining: Always line your pan with parchment paper, which makes it easy to lift out the bars once they’re set. This prevents any sticking and makes for clean-cut slices.
-
Even Crust Pressure: When forming the crust, make sure to press the cookie mixture down firmly and evenly. This ensures that your crust doesn’t crumble when slicing.
What to Serve with No Bake Biscoff Cheesecake Bars?
Looking to create a memorable meal experience? Here are some delightful pairings to enhance your dessert!
-
Fresh Berries: The tartness of fresh berries balances the richness of the cheesecake, adding a refreshing contrast.
-
Vanilla Ice Cream: A scoop of creamy vanilla ice cream adds an extra layer of indulgence, creating a delightful melt-in-your-mouth moment.
-
Caramel Sauce: Drizzling warm caramel sauce over the bars elevates the dessert’s sweetness, creating a luscious, gooey experience.
-
Coffee or Espresso: Serving with a cup of coffee or espresso enhances the flavors, offering a warm, comforting beverage alongside the deliciously creamy dessert.
Imagine the cozy atmosphere of gathering friends around the table, sharing bites of cheesecake bars paired with the rich, velvety notes of coffee.
-
Chocolate Shavings: For an elegant touch, sprinkle chocolate shavings on top. This adds visual appeal and a bittersweet contrast to the sweetness.
-
Whipped Cream: A dollop of fluffy whipped cream is a classic pairing that complements the smooth texture of the cheesecake.
With these pairings, you’ll create an inviting spread that will impress your guests and elevate the simple pleasure of homemade no bake Biscoff cheesecake bars!
No Bake Biscoff Cheesecake Bars Variations
Feel free to unleash your creativity and customize these delightful cheesecake bars to suit your tastes!
-
Chocolate Delight: Incorporate cocoa powder or swirl in a layer of chocolate spread for a rich, chocolatey twist. Perfect for chocolate lovers!
-
Nutty Crunch: Add chopped nuts, like walnuts or almonds, to the crust for an extra crunch and nutty flavor that beautifully complements the creaminess.
-
Fruit Fusion: Layer fresh fruit like strawberries or raspberries on top for a burst of freshness and color, making the dessert even more visually appealing.
-
Spiced Pumpkin: Fold in pumpkin puree and a blend of spices to create a seasonal cheesecake bar, perfect for the fall and holiday gatherings.
-
Low Sugar: Substitute granulated sugar with a sugar alternative for a healthier version that doesn’t skimp on sweetness or taste.
-
Dairy-Free: Use dairy-free cream cheese and coconut whipped cream to transform this dessert into a dairy-free indulgence without losing creaminess.
-
Lemon Zest: Add a splash of lemon juice and some zest to the filling for a refreshing citrus twist that cuts through the richness, creating a delightful balance.
-
Peanut Butter Swirl: Mix in creamy peanut butter for a nutty bite or create swirls on top for added presentation and a delicious peanut flavor.
Make Ahead Options
These no bake Biscoff cheesecake bars are perfect for busy home cooks looking to save time! You can prepare the crust and filling up to 24 hours in advance, allowing for easy assembly when you need it. Simply crush the Biscoff cookies and mix them with melted butter for the crust, then pack it tightly in the pan and freeze. As for the cheesecake filling, mix the cream cheese, Biscoff spread, and whipped cream, and store it in an airtight container in the fridge. When you’re ready to serve, just layer the filling over the crust, chill for 8 hours (overnight is ideal), and finish your bars with a drizzle of Biscoff spread and crushed cookies. They’ll be just as delicious as if made fresh on the day!
How to Store and Freeze No Bake Biscoff Cheesecake Bars
-
Fridge: Keep the cheesecake bars in an airtight container in the refrigerator for up to 4 days. This helps maintain their creamy texture and flavor.
-
Freezer: For longer storage, freeze the bars in an airtight container for up to 3 months. Wrap each piece individually in plastic wrap to prevent freezer burn.
-
Thawing: When ready to enjoy, simply thaw the no bake Biscoff cheesecake bars in the refrigerator for about 4 hours or overnight for best results.
-
Reheating: There’s no need to reheat; serve chilled straight from the fridge or after thawing for a delightful treat!
No Bake Biscoff Cheesecake Bars Recipe FAQs
What type of Biscoff cookies should I use for the crust?
You can use traditional Biscoff cookies for a sweet, spiced flavor which makes for a delightful crust. If you’re looking for alternatives, try any speculoos or flavored biscuits. Just ensure that the cookies you choose are crunchy enough to hold up when crushed.
How long can I store no bake Biscoff cheesecake bars?
These creamy bars can be stored in an airtight container in the refrigerator for up to 4 days. For best results, keep them chilled, as this maintains their luscious texture and flavor.
Can I freeze the cheesecake bars?
Absolutely! You can freeze the no bake Biscoff cheesecake bars in an airtight container for up to 3 months. To do this, wrap each piece individually in plastic wrap, then place them inside a container. This prevents freezer burn and keeps them fresh.
What should I do if my cheesecake filling is too thick?
If your filling is too thick, you can gently fold in a bit more whipped cream until it reaches your desired consistency. Keep in mind to fold gently to maintain the airiness of the mixture. If it’s too soft, chilling it for another 30 minutes can also help it firm up.
Are there any dietary considerations for allergies?
Yes! This recipe contains cream cheese and Biscoff spread, which can include allergens such as dairy and gluten. If you need to cater to dietary restrictions, consider using gluten-free cookies for the crust and dairy-free alternatives for the filling. Always check the labels to ensure they meet your needs.
How do I ensure my cheesecake bars set properly?
To ensure your no bake Biscoff cheesecake bars set correctly, cover them well and chill for at least 8 hours, preferably overnight. This extended chilling time is essential for the filling to firm up and develop ideal flavor. Be patient; your reward will be a beautifully creamy dessert!
Irresistible No Bake Biscoff Cheesecake Bars to Delight Yourself
Ingredients
Equipment
Method
- Crush Biscoff cookies into fine crumbs using a food processor or a rolling pin.
- Combine the cookie crumbs with melted butter in a bowl and stir until it resembles wet sand.
- Line a rectangular pan with parchment paper. Press the cookie mixture firmly into the base of the pan, then freeze for 15-20 minutes.
- Blend cream cheese and Biscoff spread in a bowl until smooth. In another bowl, whip heavy cream with sugar until soft peaks form, then fold it into the cream cheese mixture.
- Spread half of the cheesecake filling over the chilled crust. Add a layer of Biscoff spread and then the remaining cheesecake filling. Smooth the top.
- Cover and refrigerate for a minimum of 8 hours, ideally overnight. Remove using parchment paper, drizzle with melted Biscoff spread, sprinkle with crushed cookies, and garnish with whole cookies before slicing.

