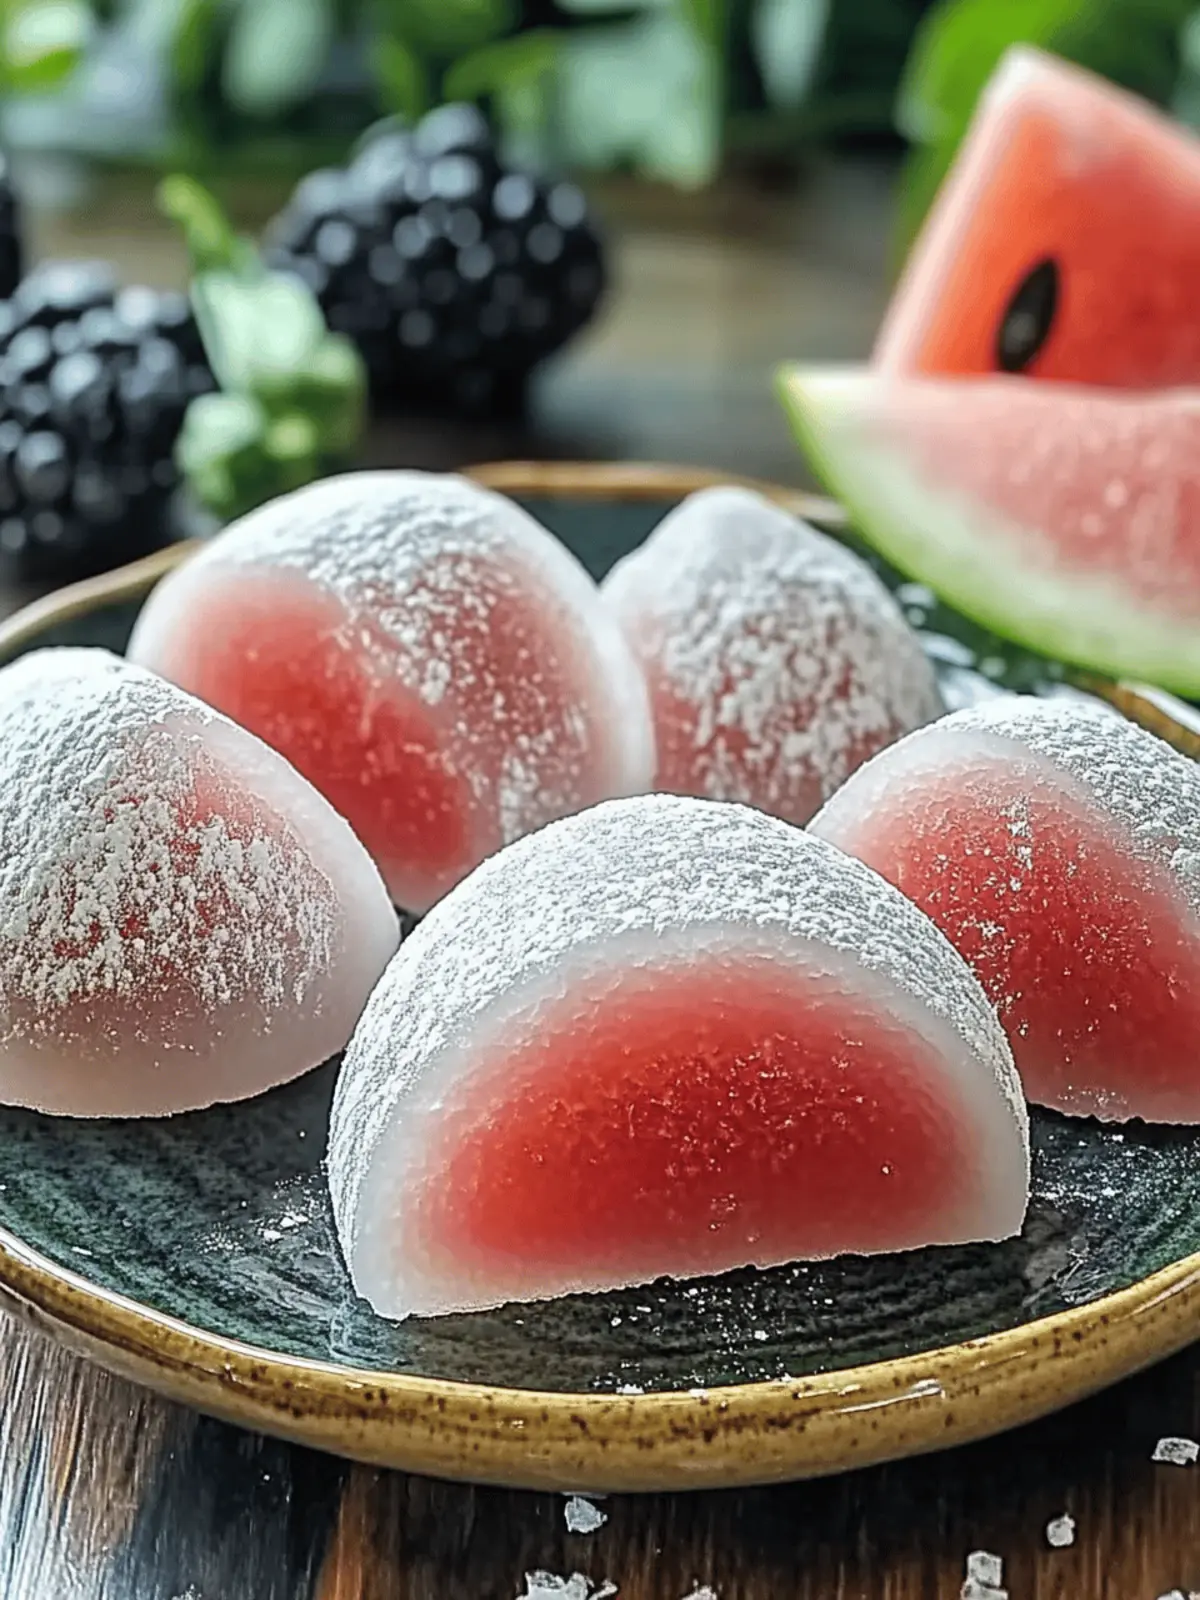
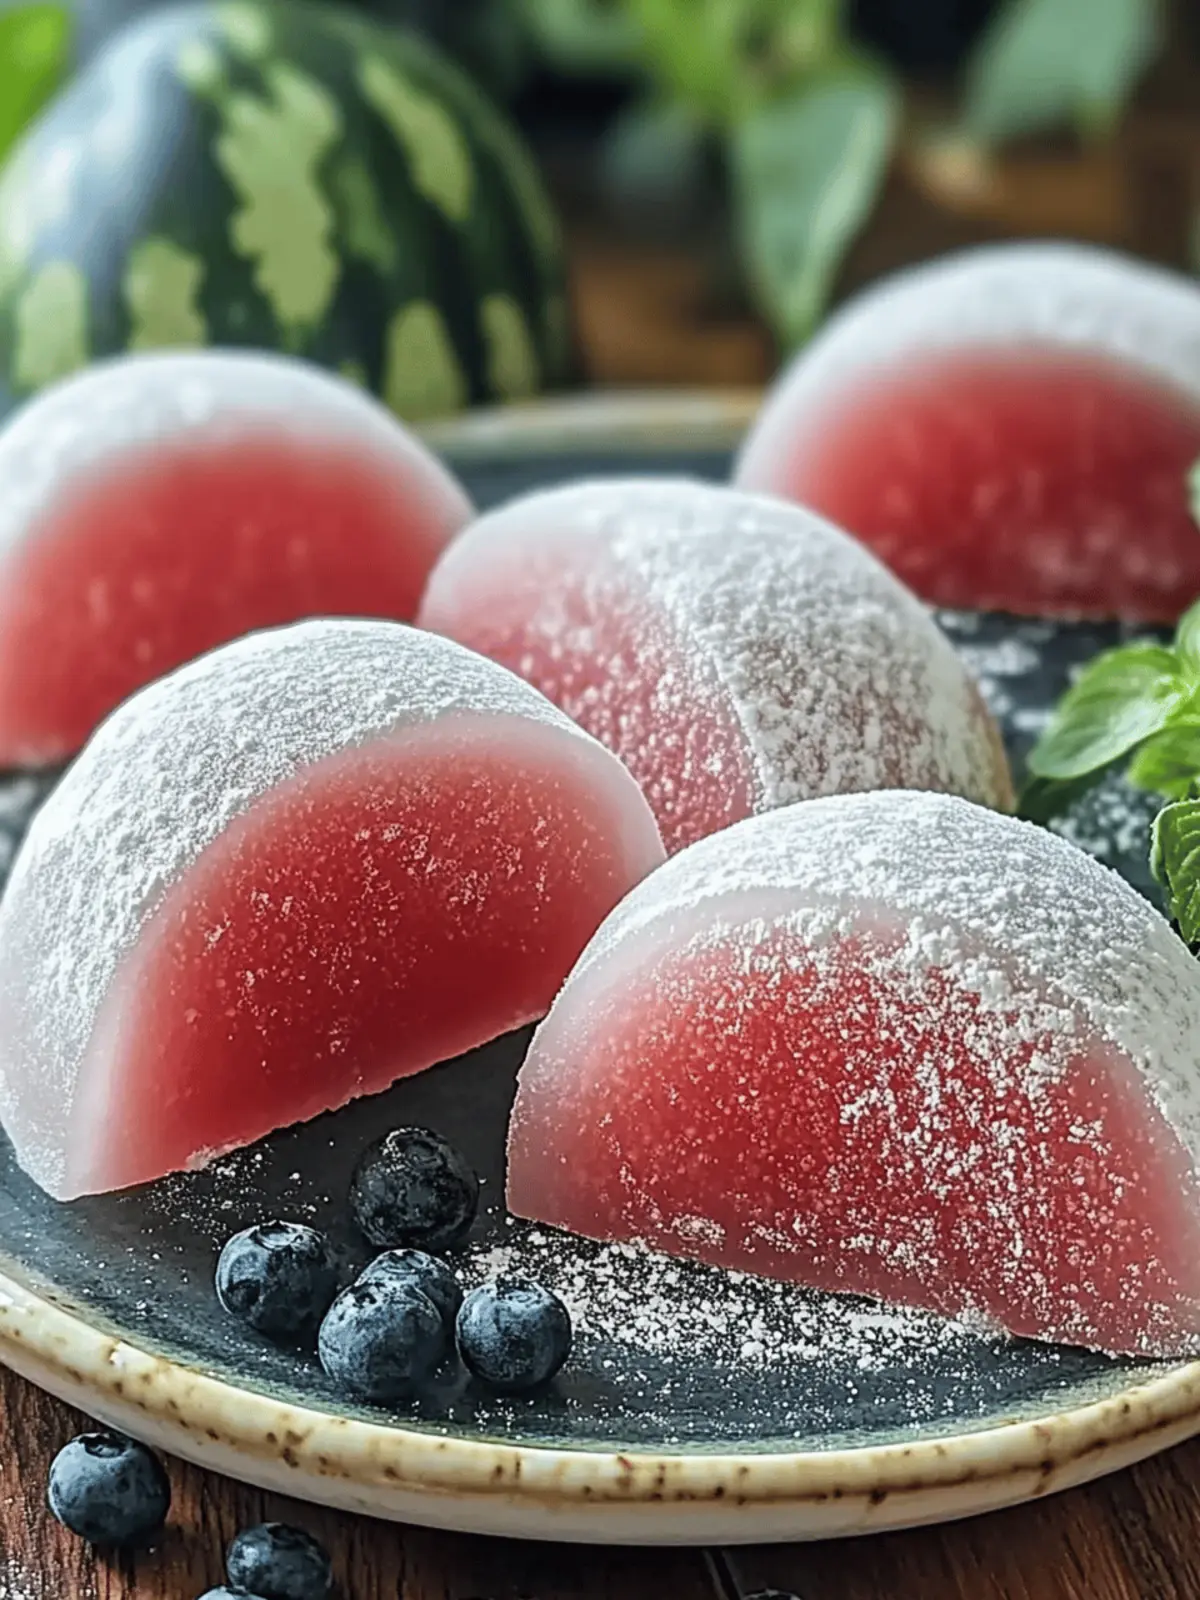
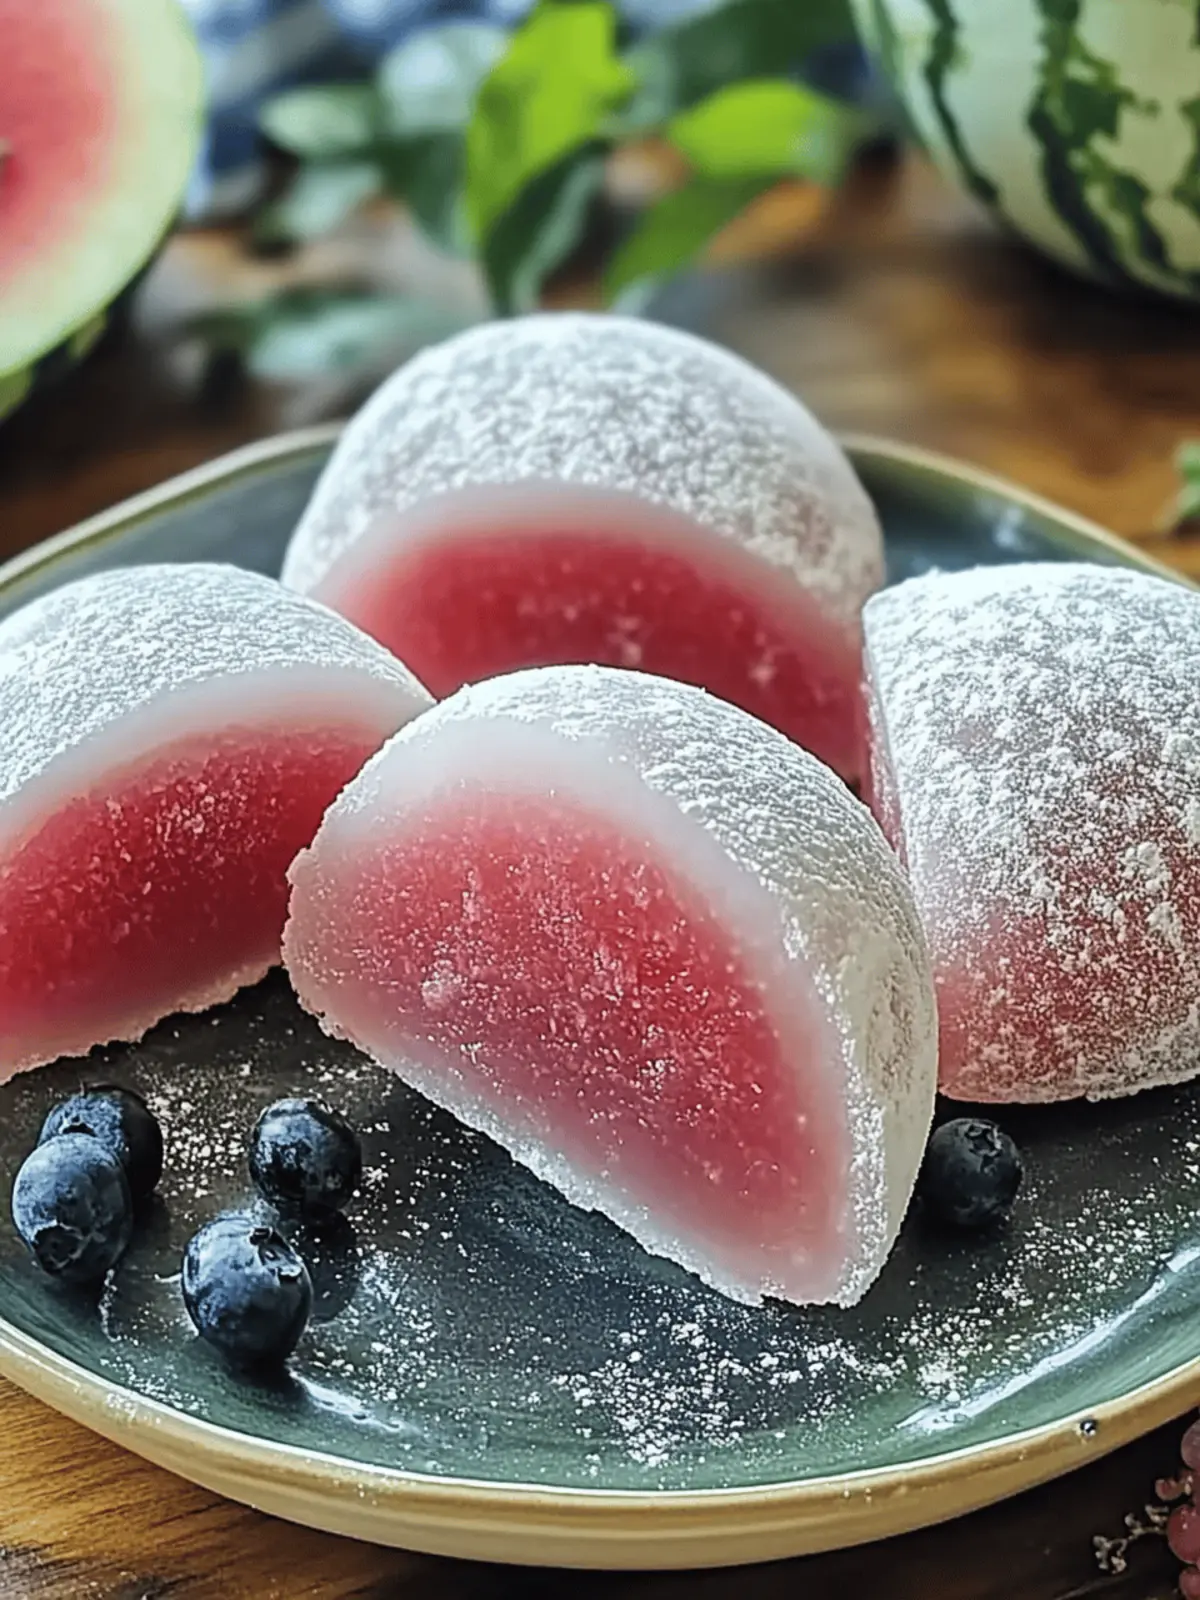
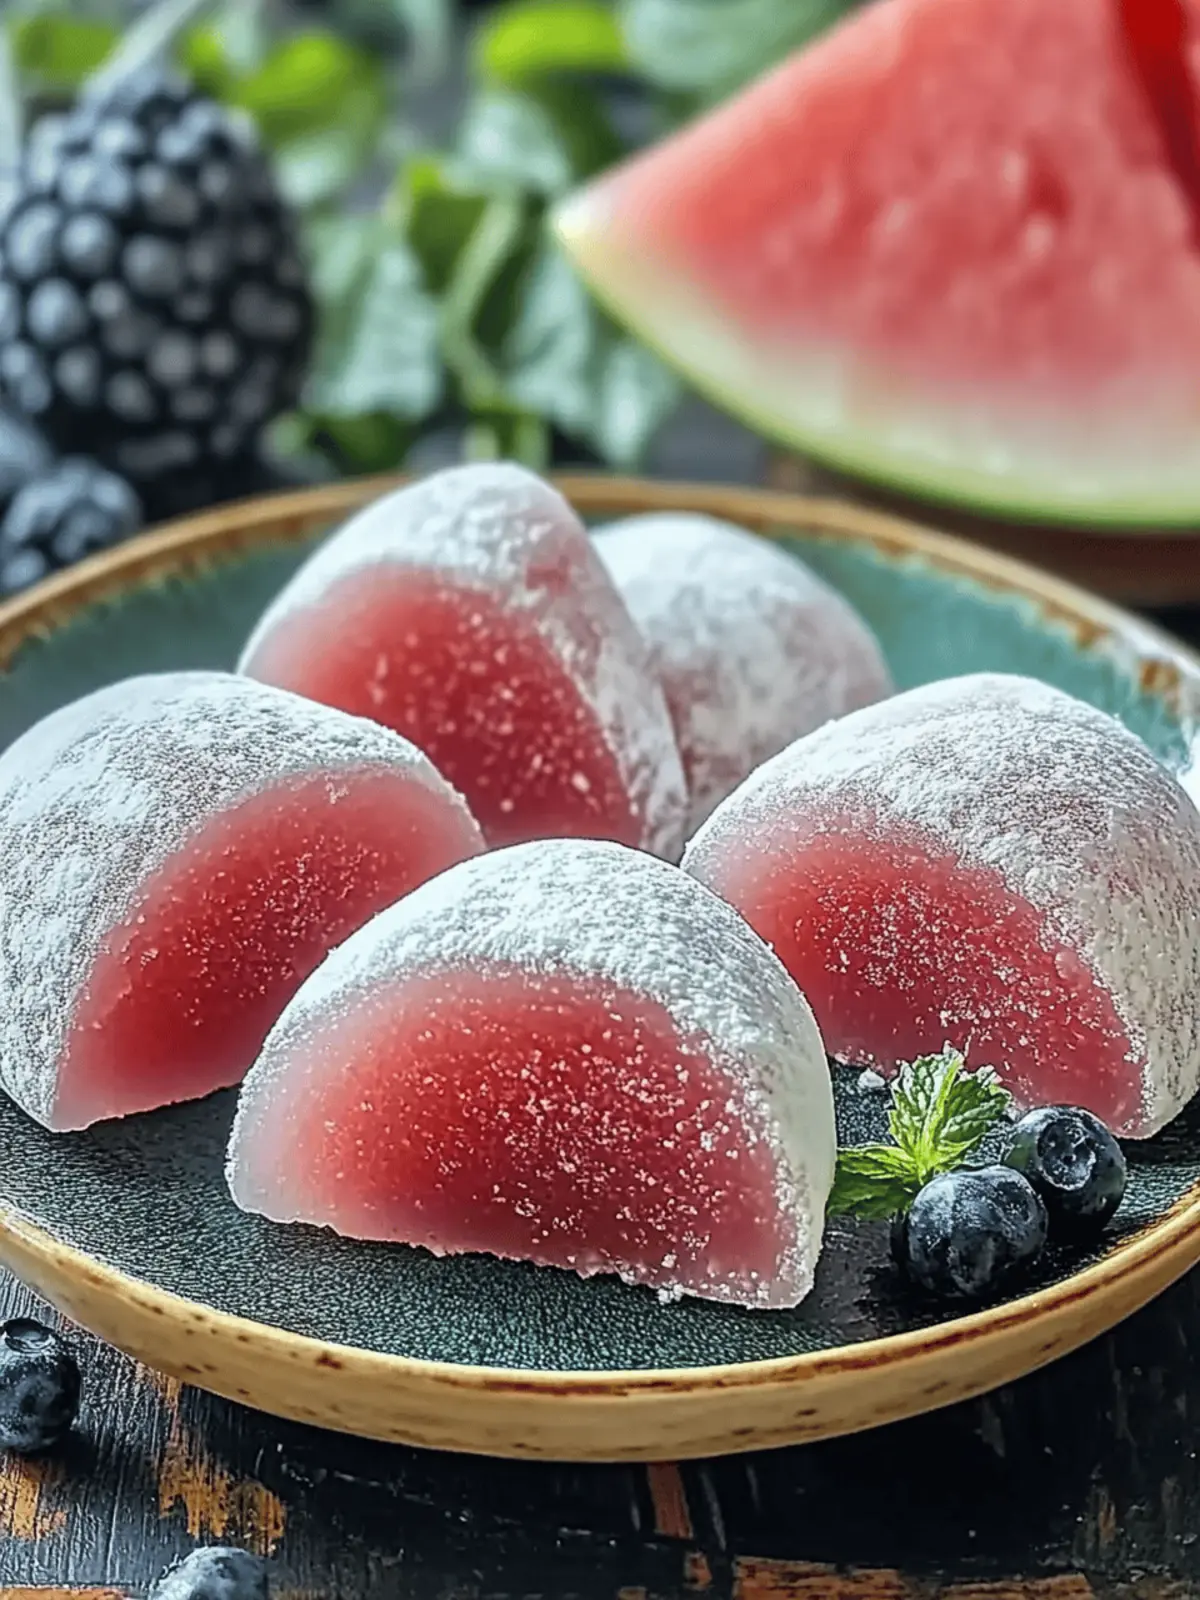
There’s a certain joy that comes with savoring a homemade treat, especially when it’s as unique and refreshing as Watermelon Mochi. After a hot summer day, I often find myself craving something cool and delightful, and this mochi fits the bill perfectly. The moment you pull apart the chewy exterior, you’re met with an explosion of juicy watermelon flavor that feels like sunshine on your palate.
When I first attempted this recipe, I was surprised at how straightforward it was to create such a vibrant dessert that could easily impress guests or simply satisfy my sweet tooth. The best part? You can customize it! With options for different fruit infusions or delicious fillings, this Watermelon Mochi is endlessly adaptable. So, whether you’re hosting a summer gathering or treating yourself to something special after dinner, join me in bringing a taste of Japan into your kitchen with this delightful, crowd-pleasing treat!
Why is Watermelon Mochi so special?
Simplicity: This recipe is easy to follow, perfect for both novice cooks and seasoned chefs looking for something fun.
Freshness: The natural sweetness of watermelon shines through, making every bite a refreshing delight during the warmer months.
Customization: Feel free to experiment! Change up the flavors with different fruits or fillings to create your own unique twist.
Impressive Presentation: With its colorful appearance and chewy texture, Watermelon Mochi is sure to impress any guest at your next gathering.
Vegan-Friendly: Swap in coconut oil for butter, making this a versatile recipe that everyone can enjoy.
Treat yourself to this happy combination of flavors and textures, and discover why mochi is a beloved staple in many kitchens!
Watermelon Mochi Ingredients
For the Mochi Base
• Watermelon – Choose a ripe watermelon to ensure maximum sweetness and juiciness.
• Glutinous Rice Flour (Mochiko) – This ingredient is essential for achieving that perfect chewy texture; consider gluten-free flour if needed.
• Sugar – Balances the fresh flavor of watermelon; feel free to substitute with a natural sweetener for a healthier option.
• Water – Helps hydrate the flour mixture; adjust the quantity based on the juiciness of your watermelon.
• Butter – Adds richness; you can use coconut oil or vegan butter as a dairy-free alternative to keep this Watermelon Mochi vegan-friendly.
For Dusting
• Cornstarch – Prevents the mochi from sticking, ensuring a smooth finish when you cut or shape it.
Get ready to dive into a fun cooking experience that blends tradition with your personal flair!
How to Make Watermelon Mochi
-
Cut the Watermelon: Begin by slicing your ripe watermelon in half. Scoop out the flesh and strain it to extract the juice, getting rid of any pulp.
-
Blend: Puree the fresh watermelon flesh in a blender until it’s smooth and creamy, making the base flavor of our delightful mochi.
-
Mix Dry Ingredients: In a large mixing bowl, stir together the glutinous rice flour and sugar. This ensures that your mochi will have an even sweetness throughout.
-
Combine with Watermelon Juice: Gradually pour the watermelon juice into the dry mixture, stirring until the batter is smooth and free of lumps.
-
Cover and Microwave: Transfer the mixture to a microwave-safe bowl, cover it with a lid or cling film. Microwave in 30-second intervals, stirring in between, until the dough is sticky and slightly translucent (about 2-3 minutes total).
-
Incorporate Butter: Add the melted butter (or coconut oil) to the warm dough, mixing it well until fully incorporated and the dough is smooth.
-
Knead the Dough: Once the dough has cooled enough to handle, knead it on a clean surface for a few minutes until it’s smooth and elastic.
-
Refrigerate: Wrap the kneaded dough in plastic wrap and refrigerate it for at least one hour. This helps firm it up for easier cutting.
-
Dust and Cut: Before cutting the mochi into pieces, dust your work surface with cornstarch to prevent sticking. Shape or slice the dough into desired pieces.
Optional: Serve with a drizzle of honey for extra sweetness.
Exact quantities are listed in the recipe card below.
Watermelon Mochi Variations
Feel free to explore new flavors and textures with these delightful twists on the classic Watermelon Mochi recipe!
-
Berry Burst: Substitute watermelon with a blend of strawberry and raspberry puree for a tangy spin. The vibrant colors and zesty flavors will brighten any dessert table!
-
Tropical Twist: Use mango or pineapple juice instead of watermelon for a tropical escape in every bite. This will bring a sun-kissed sweetness that’s ideal for summer gatherings.
-
Chocolate Delight: Introduce a layer of chocolate ganache as a filling inside your mochi. The rich chocolate contrasts beautifully with the fruity outer layer, creating a heavenly combination.
-
Nutty Flavor: Add a spoonful of almond or peanut butter into the dough for a nutty depth. This unique twist offers a creamy richness that balances the freshness of the fruit.
-
Herb Infusion: Mix in finely chopped mint or basil into the batter to create a refreshing herbal note. These aromatic herbs will elevate your mochi, making it a delight for adventurous palates!
-
Spiced Sensation: Add a pinch of cayenne pepper or ginger to the watermelon juice for a subtle kick. The hint of heat will surprise your taste buds and bring excitement to the traditional flavor.
-
Coconut Coating: Roll the finished pieces in shredded coconut for a tropical finish. This adds a delightful chewiness and complements the refreshing fruit flavor, making each piece a charming treat.
-
Fruit Haven: Mix different fruit purees for a layered effect, such as combining blueberry, kiwi, and watermelon. This beautiful mosaic of flavors will not only taste amazing but will also look gorgeous on your plate!
What to Serve with Watermelon Mochi?
Elevate your dessert experience by pairing your Watermelon Mochi with delightful accompaniments that add flavor and excitement.
- Chilled Coconut Sorbet: This creamy sorbet creates a refreshing contrast and adds a tropical flair to your mochi.
- Matcha Green Tea: The earthiness of matcha complements the sweetness of watermelon, making for a soothing drink alongside your dessert.
- Fresh Berry Salad: A mix of strawberries, blueberries, and mint brings vibrant colors and a burst of freshness that enhances each bite.
- Honey Drizzle: Lightly drizzling honey on top adds a touch of sweetness and makes the mochi even more irresistible.
Consider a blend of textures and flavors; a chilled fruit salad with refreshing citrus dressing brightens up the palate. Each component brings a new dimension, ensuring every bite feels like a joyful celebration.
- DIY Dipping Sauces: Create light sauces like sweetened yogurt or fruit purée to offer contrasting flavors, perfect for dipping your mochi.
- Iced Green Tea: Sip on a refreshing iced green tea for a cooling effect that pairs beautifully with the chewy texture of the mochi, enhancing the overall experience.
How to Store and Freeze Watermelon Mochi
Room Temperature: Store Watermelon Mochi in an airtight container at room temperature for up to 1 day. Enjoy the chewy texture, but note it may soften over time.
Fridge: Keep your mochi in the refrigerator for up to 3 days. This will help maintain freshness, but expect a slight change in texture as the cold alters the chewiness.
Freezer: For longer storage, freeze individual pieces of Watermelon Mochi wrapped in plastic wrap and then placed in a freezer-safe bag. They can last up to 2 months.
Reheating: When you’re ready to enjoy frozen mochi, simply let them thaw at room temperature for about 15-20 minutes. Alternatively, microwave for a few seconds to refresh the texture before serving.
Make Ahead Options
These Watermelon Mochi are fantastic for busy home cooks wanting to save time without sacrificing flavor! You can prepare the mochi dough and refrigerate it for up to 3 days. Simply follow the steps to mix and knead the dough, then wrap it tightly in plastic wrap and store it in the fridge. This keeps the mochi fresh and prevents it from becoming too dry. When you’re ready to serve, just roll and cut the chilled dough into pieces, dusting with cornstarch to prevent sticking. You’ll have delicious, chewy Watermelon Mochi ready in no time, making it perfect for spontaneous summer gatherings or sweet cravings!
Helpful Tricks for Watermelon Mochi
- Choose Ripe Watermelon: Select a juicy, ripe watermelon for the best flavor; an under ripe option may lead to bland mochi.
- Adjust Moisture Levels: Keep an eye on the watermelon juice quantity to ensure the dough isn’t too sticky; this affects the texture of your Watermelon Mochi.
- Sifting Matters: Sift your glutinous rice flour and sugar before mixing for a lump-free, smooth consistency that enhances the chewy texture.
- Microwave Caution: Microwave in shorter intervals and stir frequently to avoid overcooking; this prevents your dough from becoming dry or rubbery.
- Dust Generously: Use plenty of cornstarch when dusting the surface to cut your mochi, preventing it from sticking and ensuring perfect shapes.
Watermelon Mochi Recipe FAQs
How do I select the perfect watermelon for my mochi?
Absolutely! When choosing a watermelon, opt for one that feels heavy for its size, indicating it’s full of water and juice. Look for a smooth, symmetrical shape and check for a uniform dark green color. The spot where it rested on the ground should appear creamy yellow; this indicates ripeness. Avoid watermelons with dark spots all over, as they may be overripe.
How should I store leftover Watermelon Mochi?
Very good question! For room temperature storage, place your Watermelon Mochi in an airtight container; it’ll be good for about 1 day. If you want to keep it longer, refrigerate in the same container for up to 3 days. Just keep in mind that the texture might change slightly once it’s chilled, becoming a bit firmer.
Can I freeze Watermelon Mochi, and how do I do it?
Of course! Freezing is perfectly fine. Wrap individual pieces of Watermelon Mochi in plastic wrap to prevent freezer burn, then place them in a freezer-safe bag. They can be kept frozen for up to 2 months. When you’re ready to indulge, let them thaw at room temperature for about 15-20 minutes, or microwave them for a few seconds to refresh that delightful chewy texture.
What should I do if my mochi is too sticky?
If your mochi turns out stickier than expected, don’t worry! This can sometimes happen depending on the moisture in your watermelon juice. A good solution is to dust your workspace and the mochi pieces generously with cornstarch. If it’s too difficult to handle, you can also knead in a little extra glutinous rice flour, but do so gradually to maintain the chewy texture.
Is this recipe suitable for those with dietary restrictions?
Yes, indeed! This Watermelon Mochi can easily be made vegan by substituting butter with coconut oil or vegan butter. If you’re avoiding gluten, opt for gluten-free rice flour. Just make sure to double-check your other ingredients, like the sugar, to ensure they meet your dietary needs.
How can I customize my Watermelon Mochi?
The more the merrier! You can easily alter the flavors by substituting watermelon juice with other fruit juices like mango or strawberry. For a fun twist, consider adding fillings such as sweetened red bean paste or whipped cream inside each mochi. Just remember to balance the sweetness with your choice of juice!

Irresistible Watermelon Mochi: A Fun Twist on a Classic!
Ingredients
Equipment
Method
- Begin by slicing your ripe watermelon in half. Scoop out the flesh and strain it to extract the juice, getting rid of any pulp.
- Puree the fresh watermelon flesh in a blender until it’s smooth and creamy, making the base flavor of our delightful mochi.
- In a large mixing bowl, stir together the glutinous rice flour and sugar.
- Gradually pour the watermelon juice into the dry mixture, stirring until the batter is smooth and free of lumps.
- Transfer the mixture to a microwave-safe bowl, cover it, and microwave in 30-second intervals, stirring in between, until the dough is sticky and slightly translucent (about 2-3 minutes total).
- Add the melted butter (or coconut oil) to the warm dough, mixing it until fully incorporated.
- Once the dough has cooled enough to handle, knead it on a clean surface for a few minutes until it’s smooth and elastic.
- Wrap the kneaded dough in plastic wrap and refrigerate it for at least one hour.
- Dust your work surface with cornstarch to prevent sticking before shaping or slicing the dough into desired pieces.


